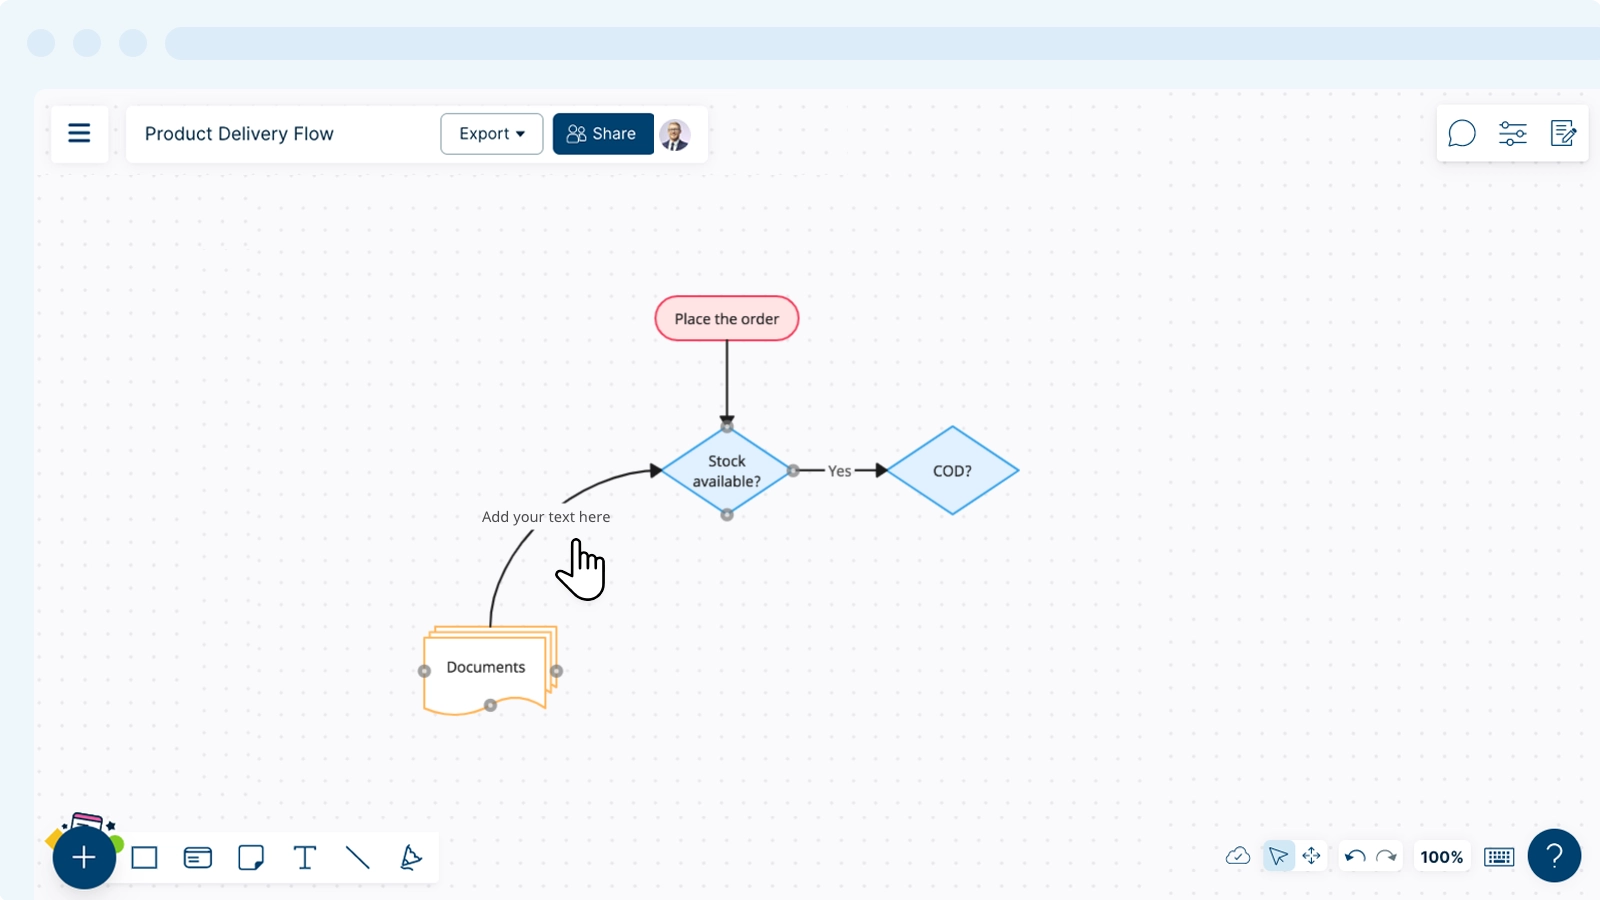
Using Connectors
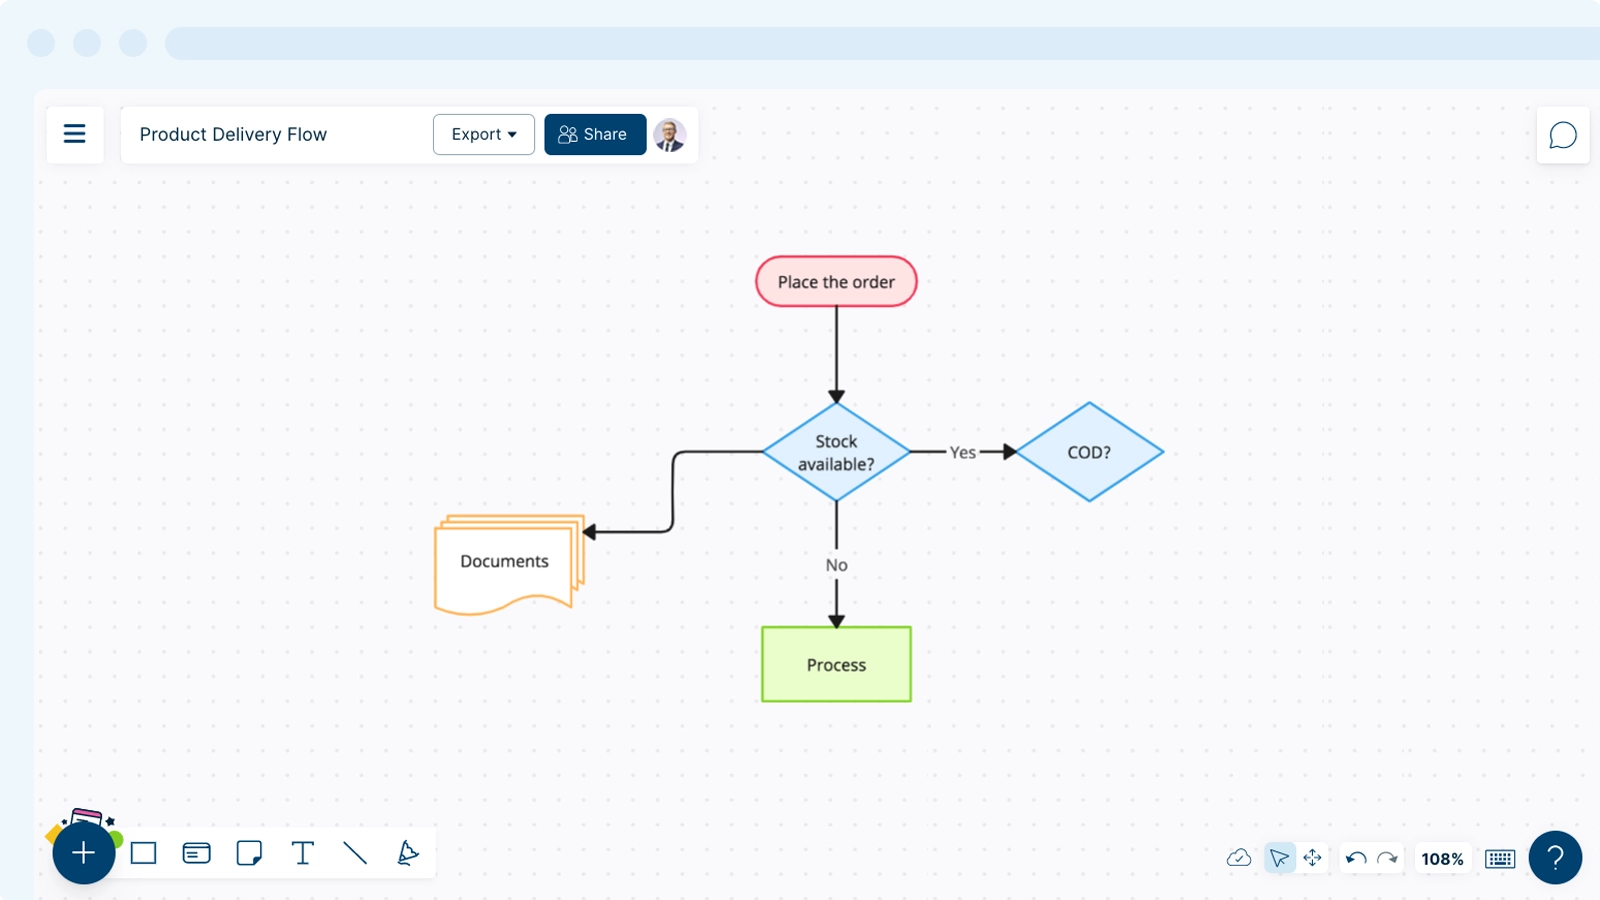
Connectors are lines that show relationships between shapes. They allow you to easily link shapes together and are context-aware to ensure quicker and more efficient diagramming.
Adding Connectors
Creately’s line connectors enable you to link your shapes together, allowing you to create a flow or show relationships between elements.
There are two ways in which you can add line connectors to your shapes:
- Directly from the shapes
- Using
 Plus button
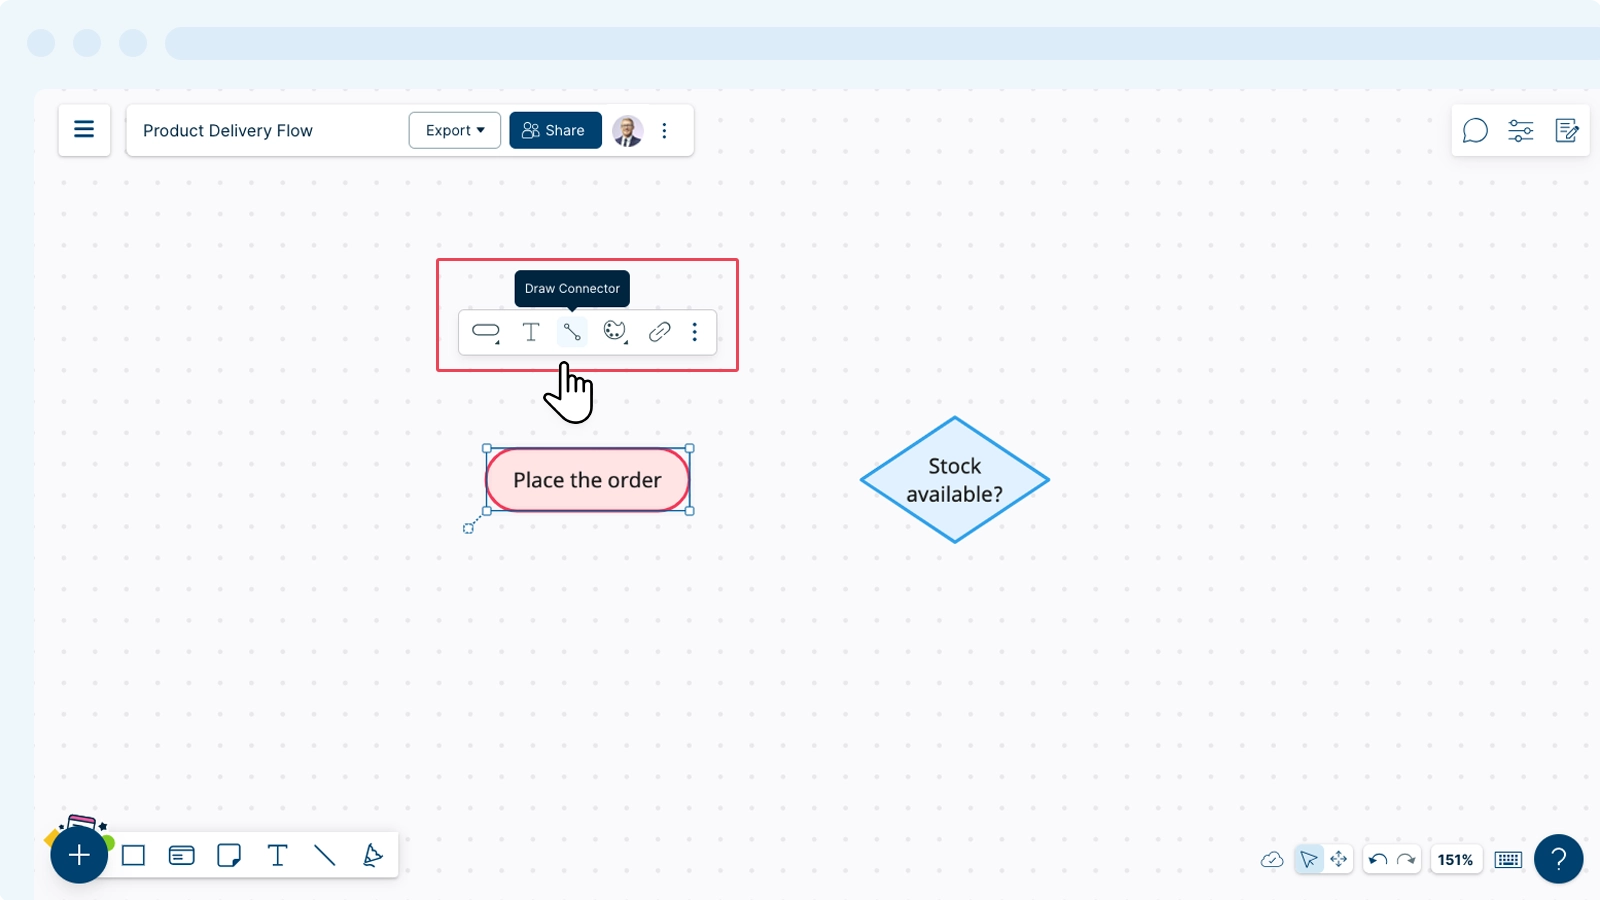
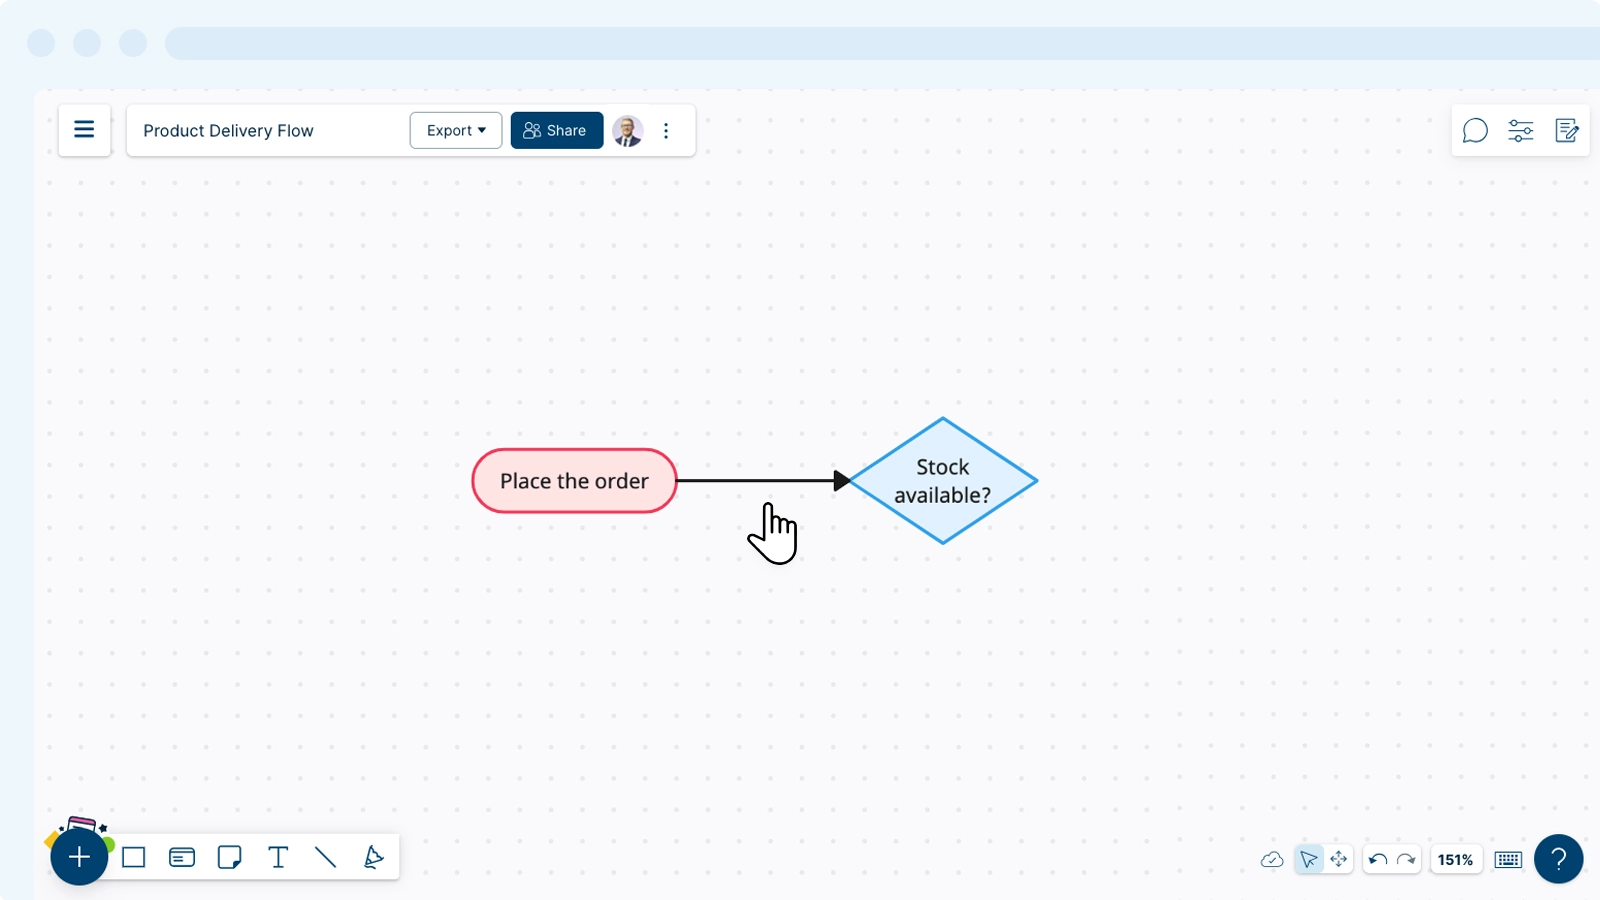
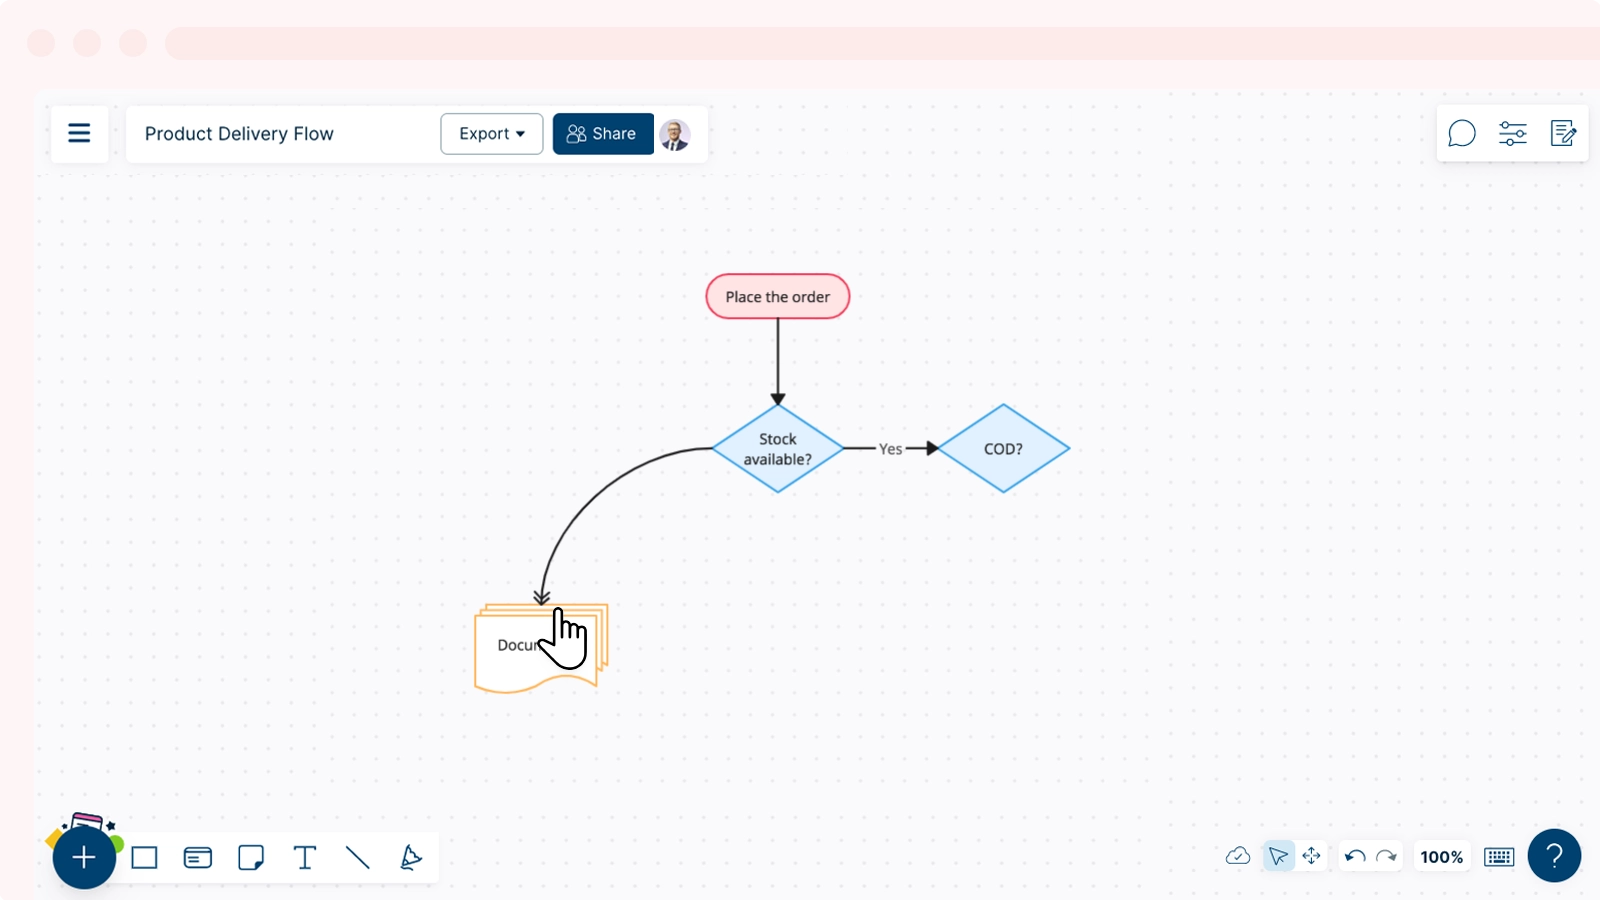
Creating Line Connectors from Shapes Directly
- Select your Shape.
- Select
 Draw Connector from the contextual toolbar (Or use the short-cut key C on your keyboard).
 - A connector will then be formed from your shape and you may connect it to another shape or the relevant data as needed.
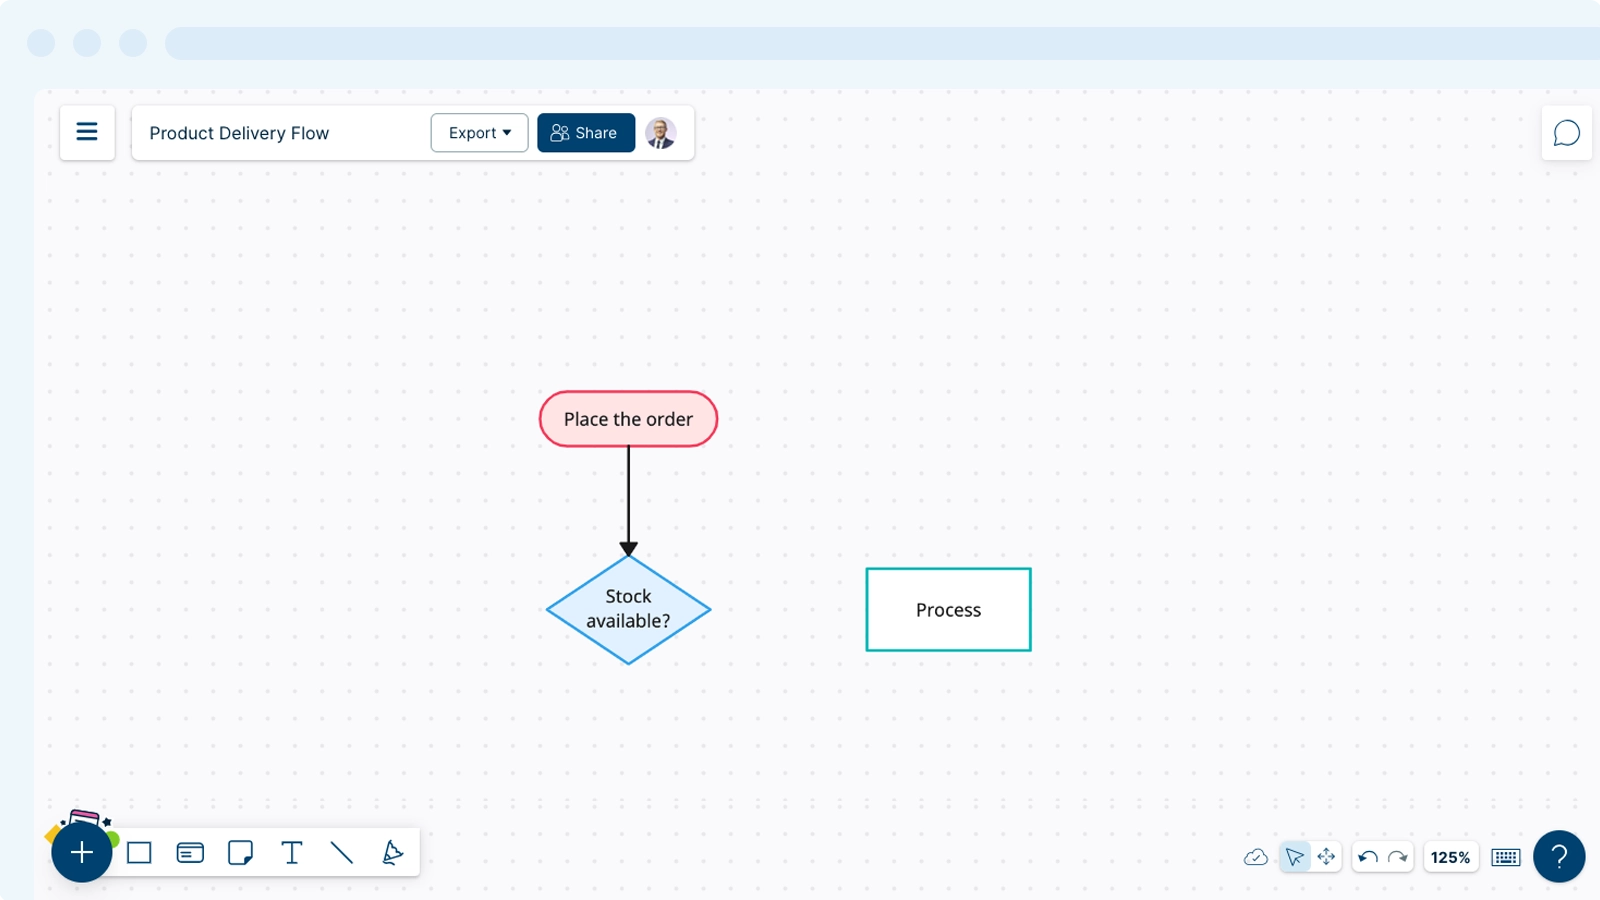
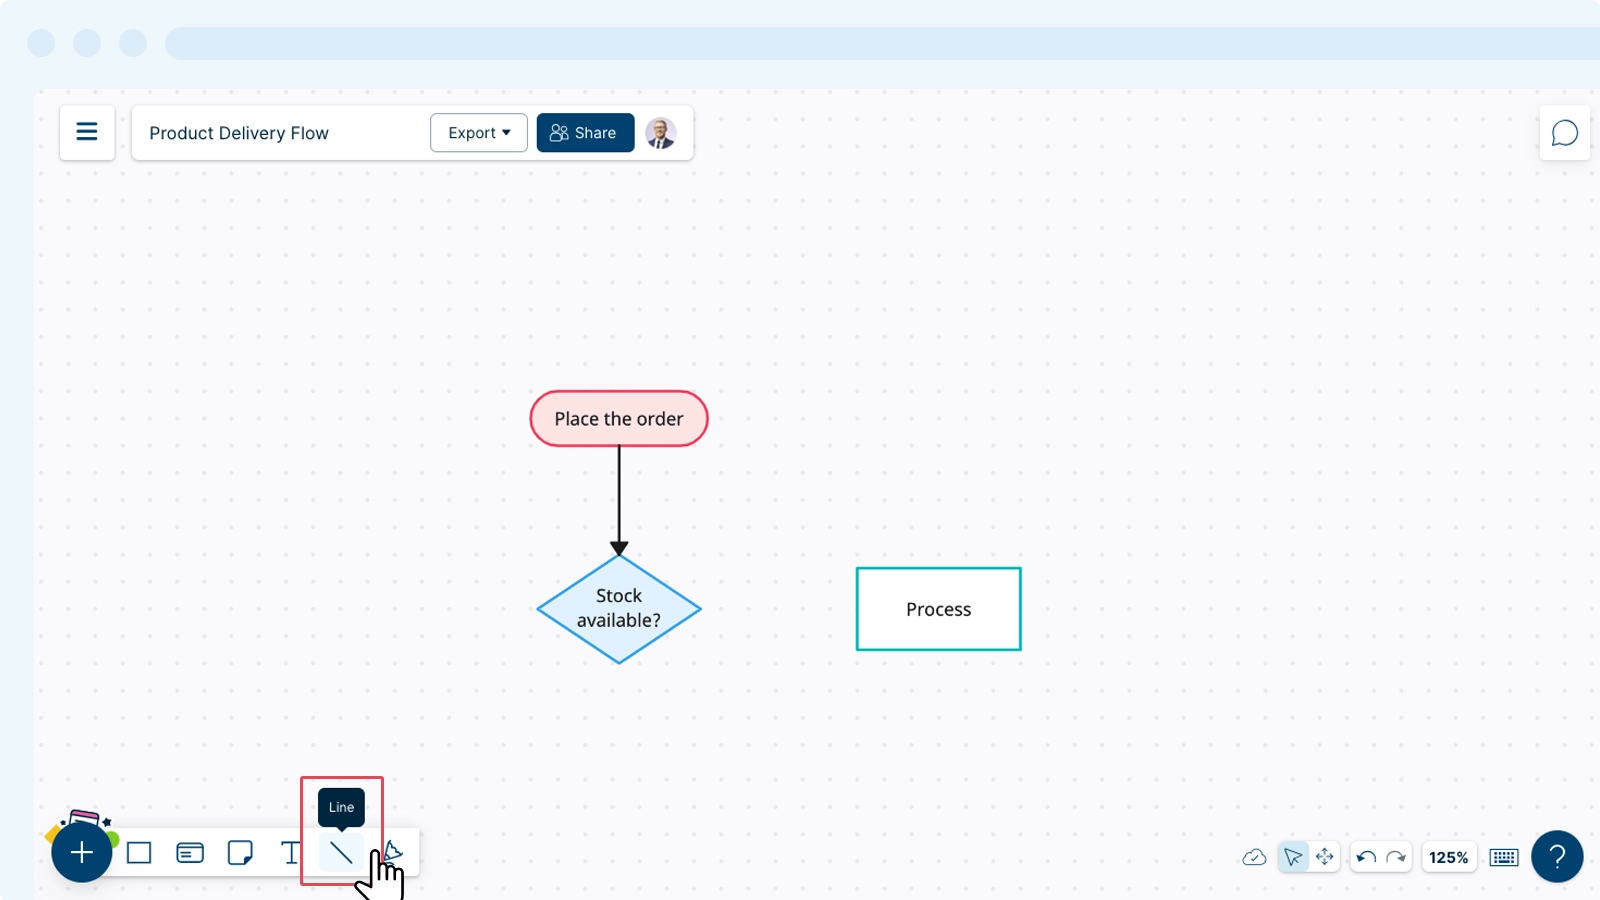
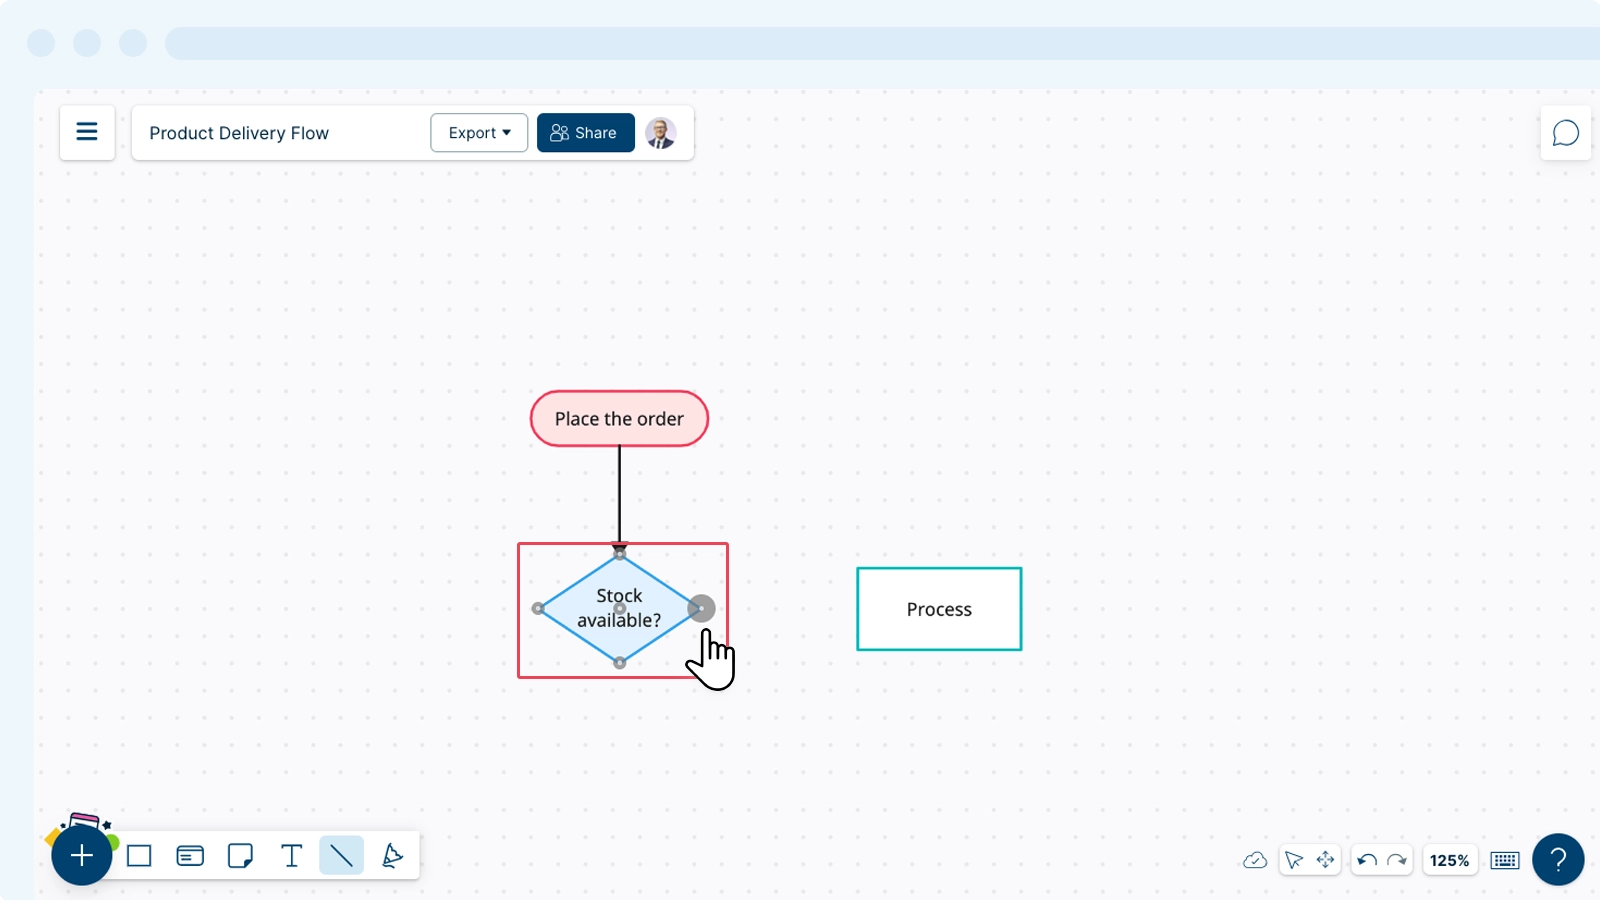
Creating a Connector from the Plus Button
- Select
 Line from the options provided in the bottom row.
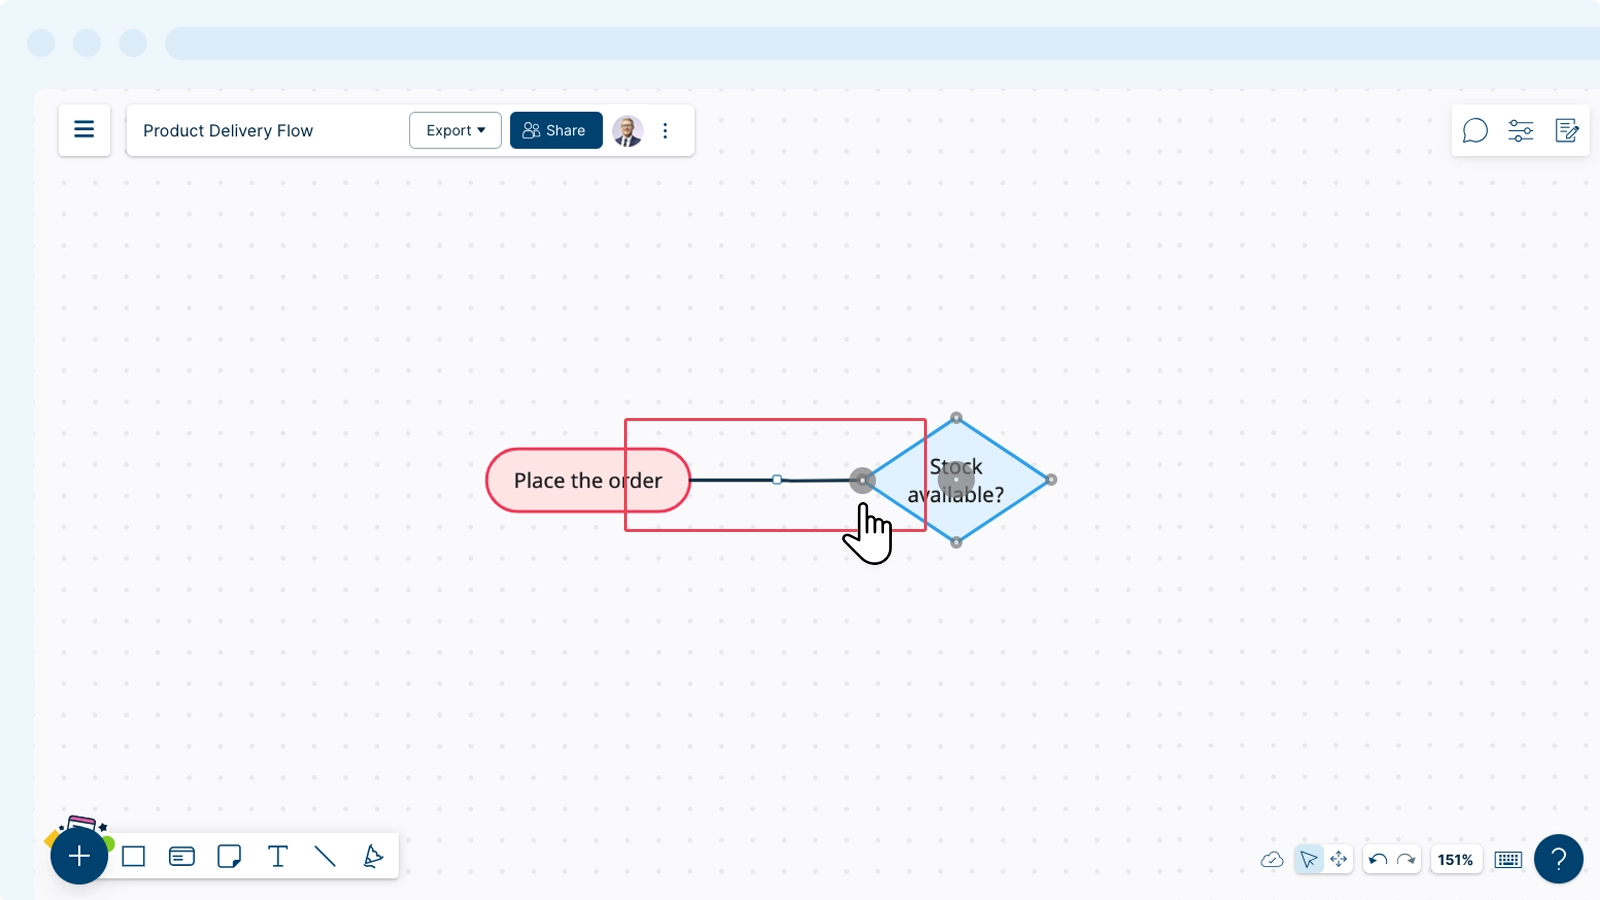
 - Click on the point on your shape from where you want to start the connection line, drag it to the relevant connecting point, and let go of the connection.

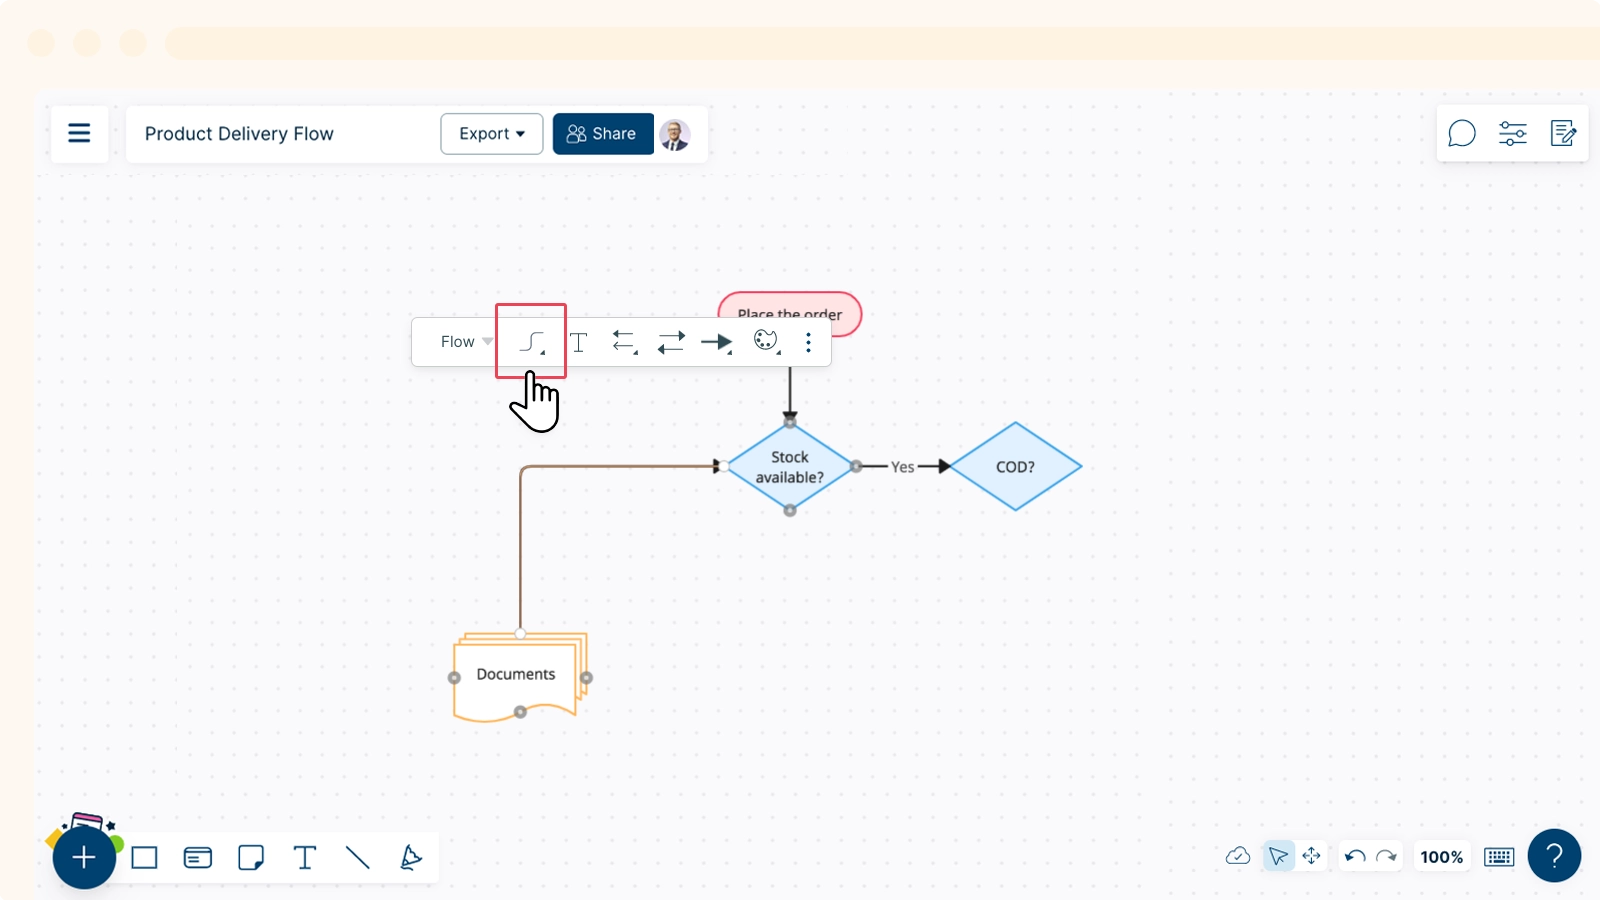
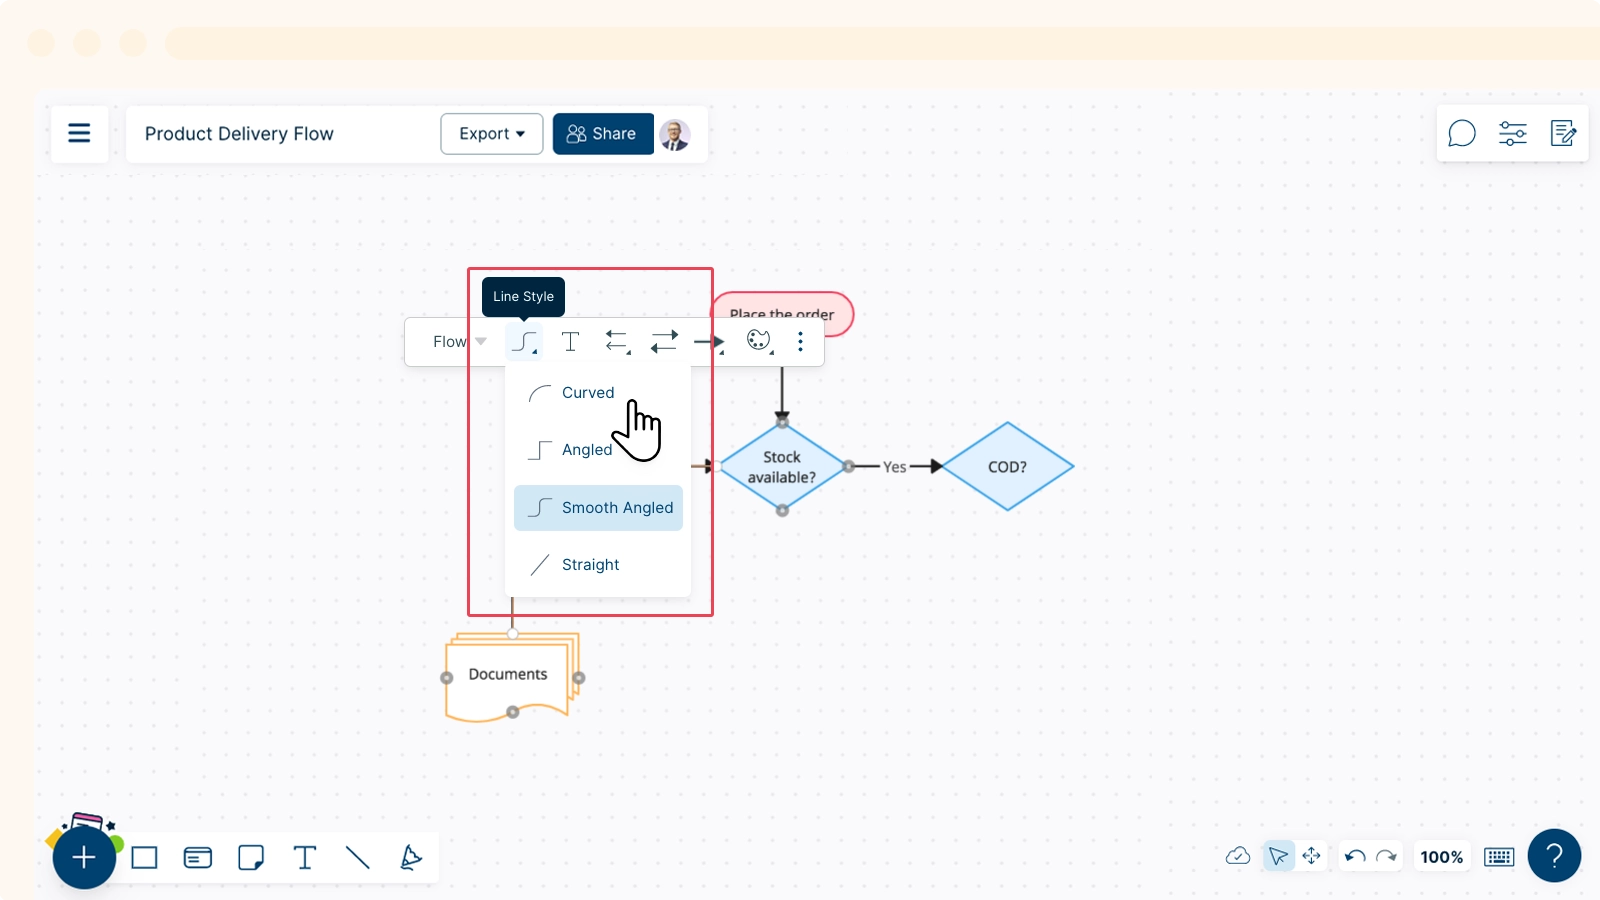
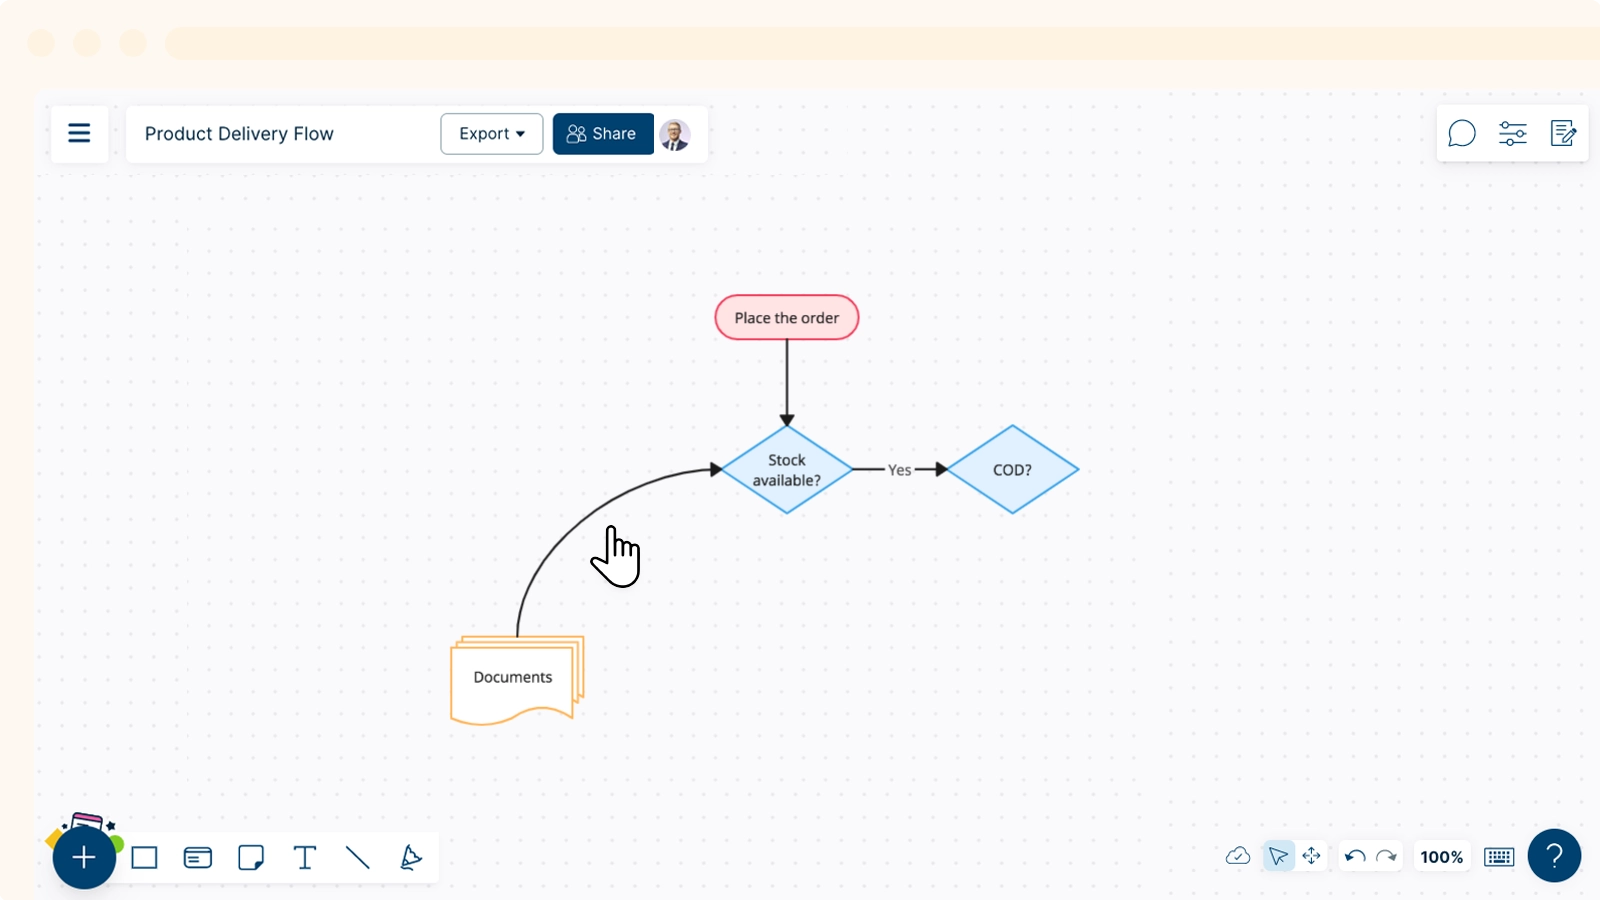
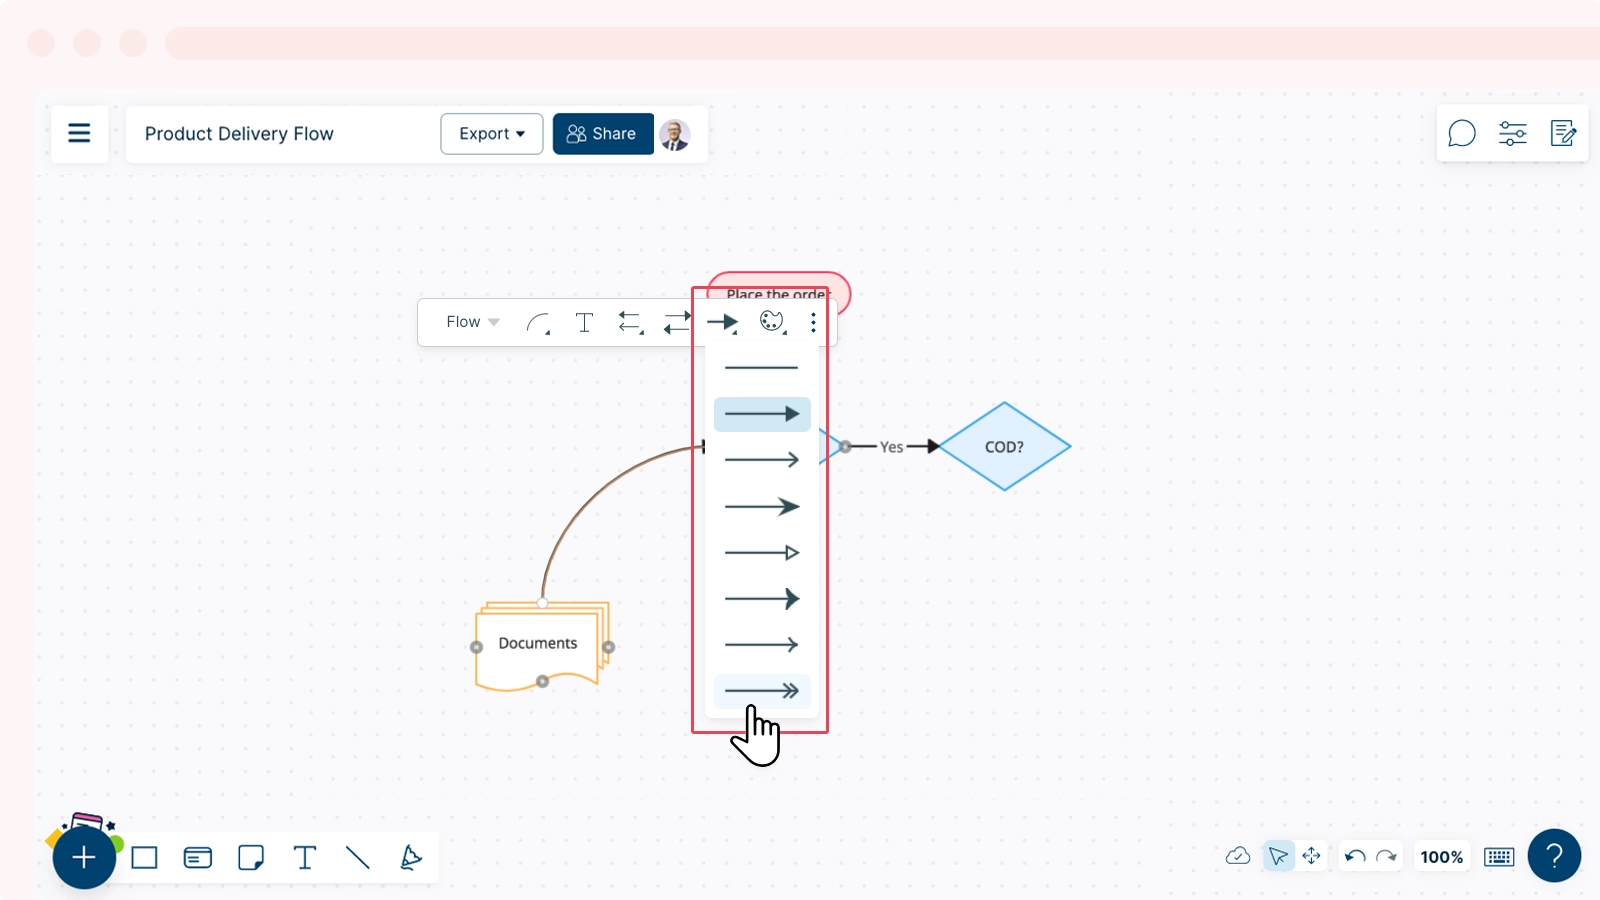
Selecting Types of Line Connectors
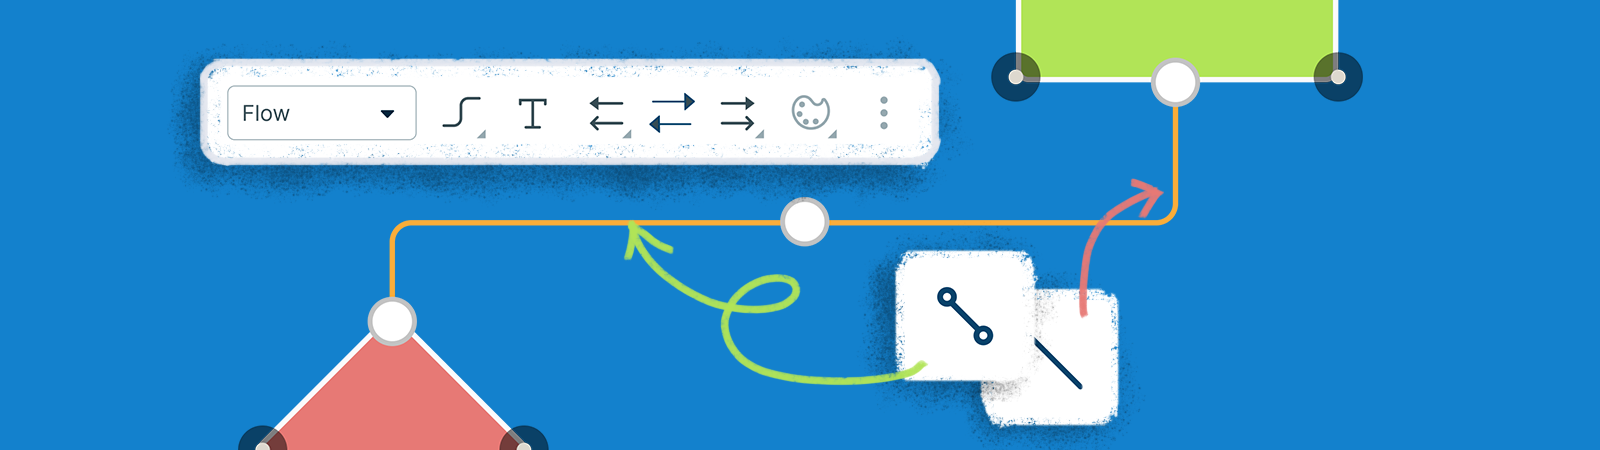
There are several Line Connector types available for you. These are all available from the contextual toolbar. To select the line style:
- Select the connector you want to change.
- On the contextual toolbar that appears, select a
 Line Style available from the drop-down menu.
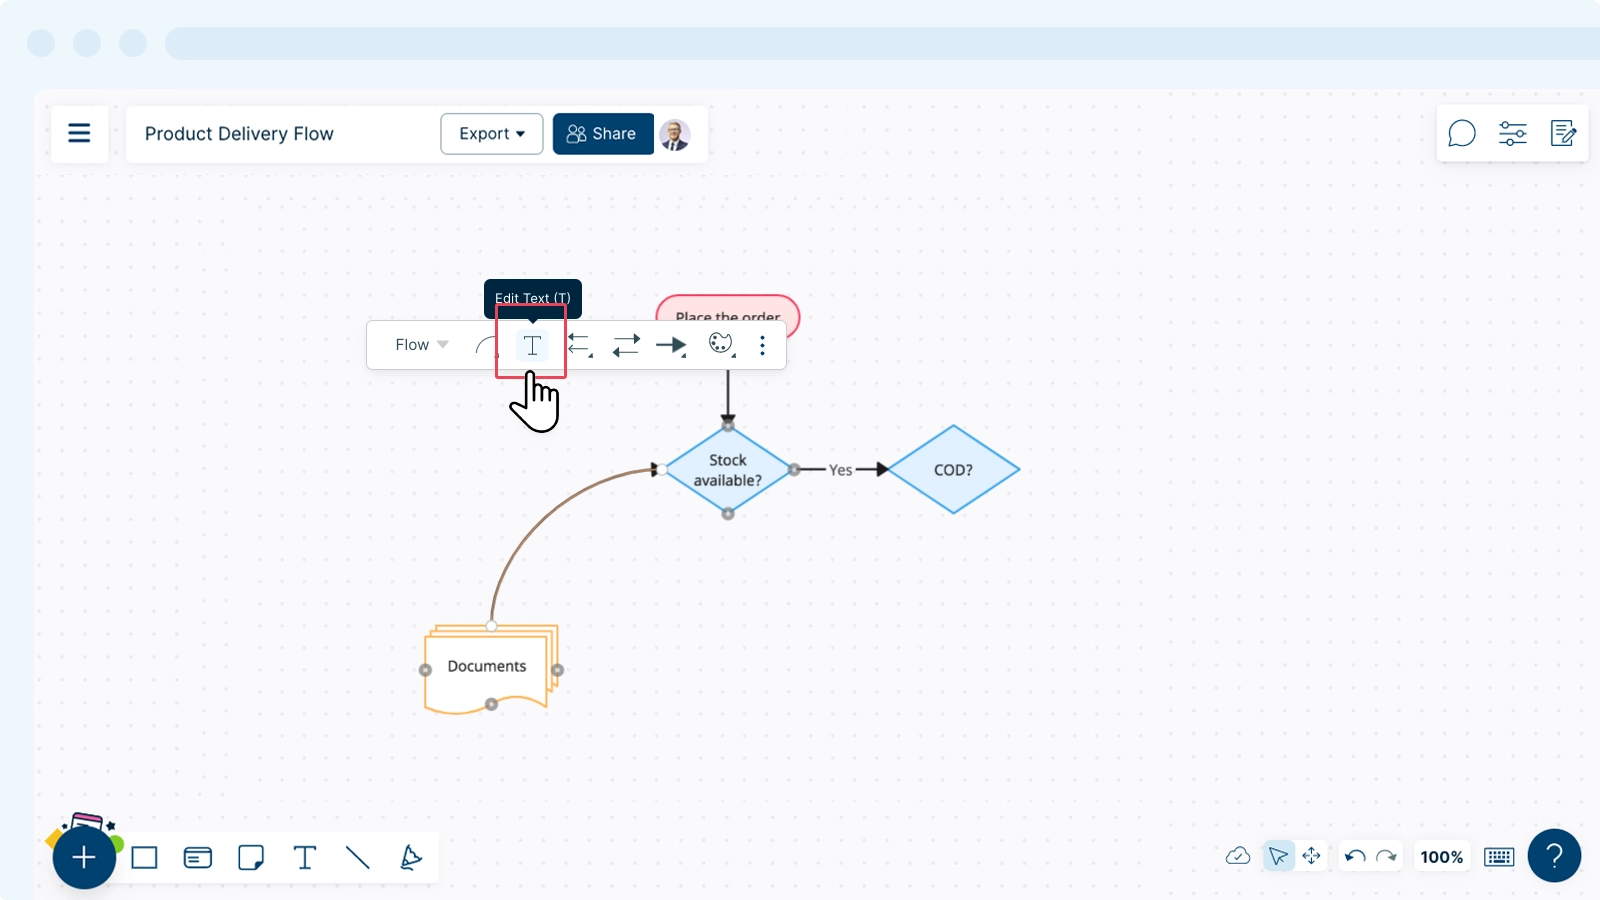
Adding Text to Line Connectors
- Select the connector you want to change.
- On the contextual toolbar that appears, select
 Edit Text or select shortcut T on your keyboard.
 - Add or edit your text accordingly.
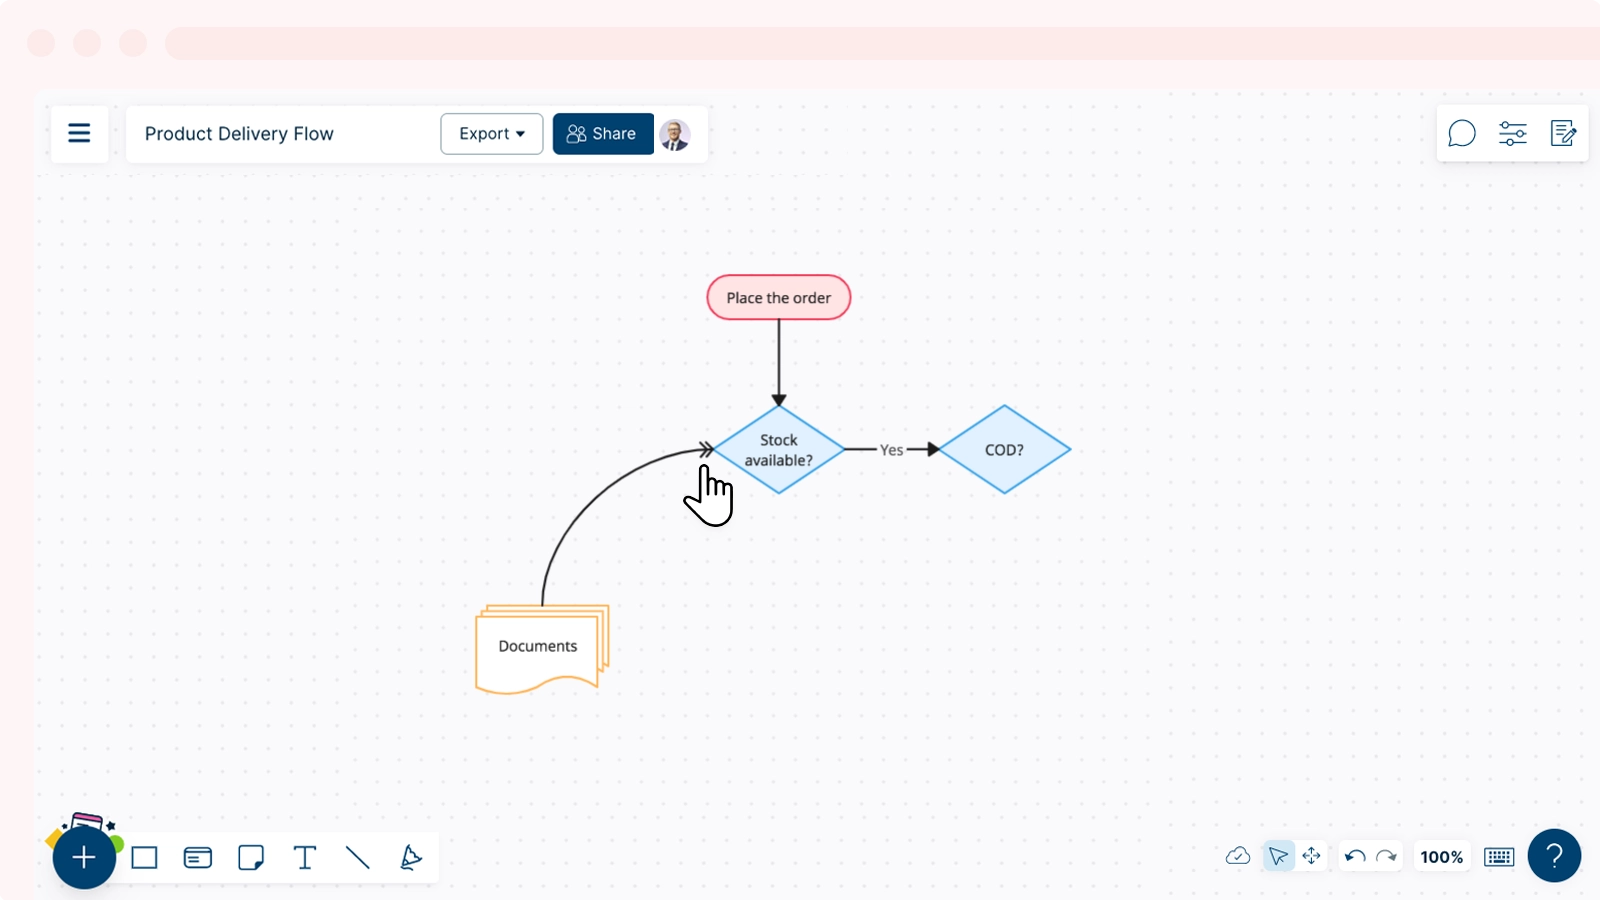
Adding Arrowheads to Line Connectors
Arrowheads can be used to highlight the direction of your data, such as to indicate the flow of information.
To add or edit arrowheads:
- Select the connector you want to change.
- On the contextual toolbar that appears, select
 Arrowhead Left or
  Arrowhead Right and pick a preferred arrowhead style from the drop-down menu.
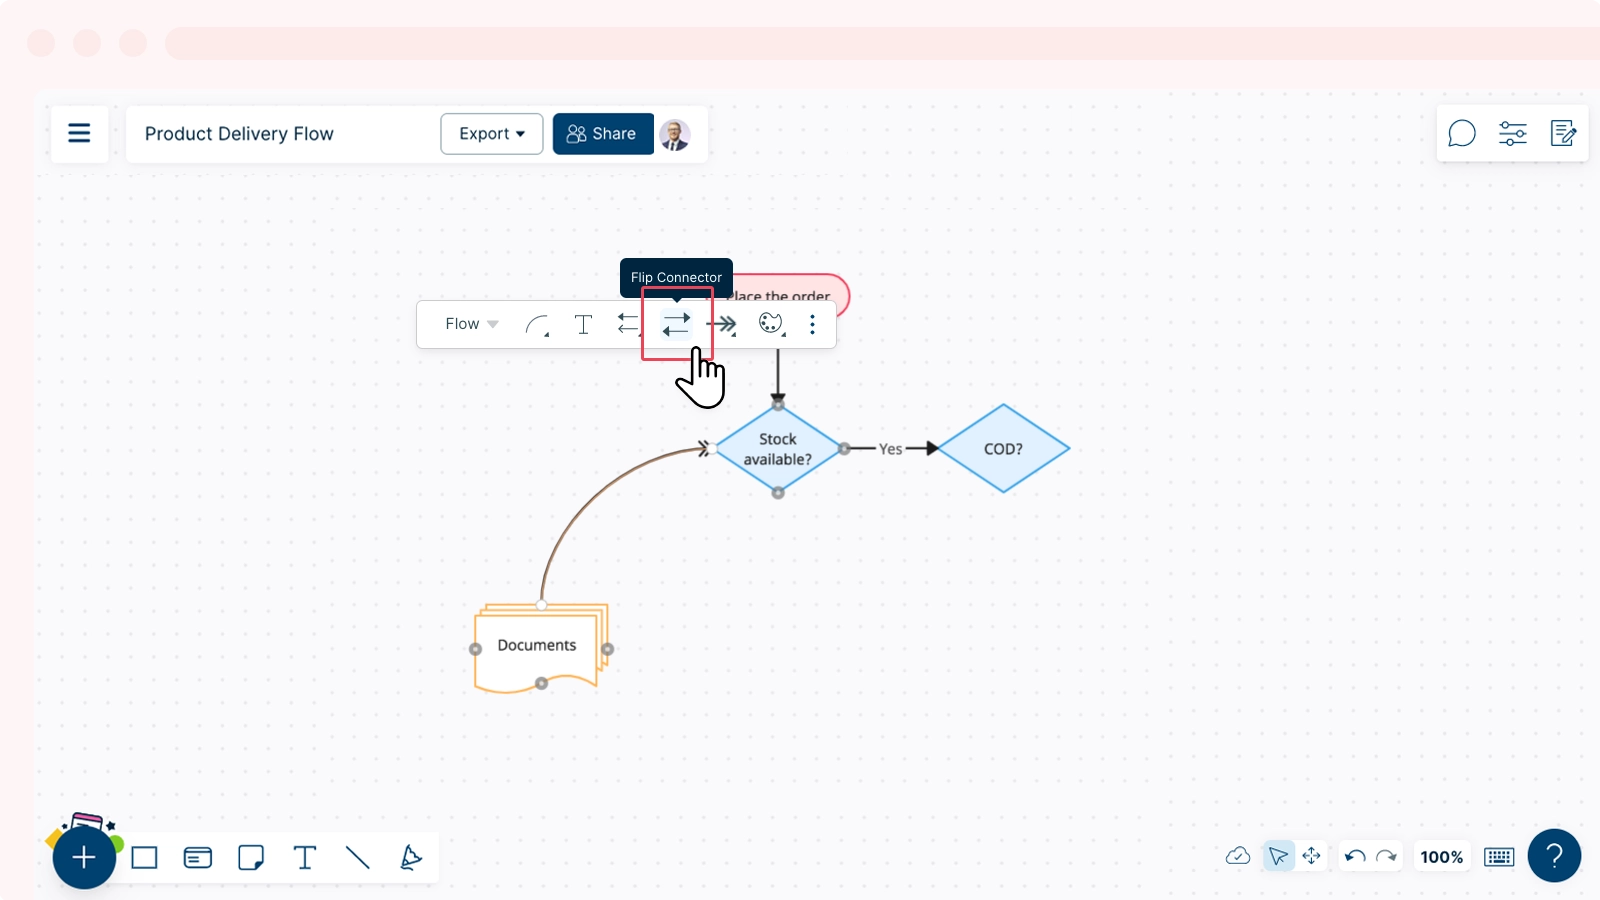
 - Use the
 Flip Connector option in the toolbar to change the direction of the arrowhead.
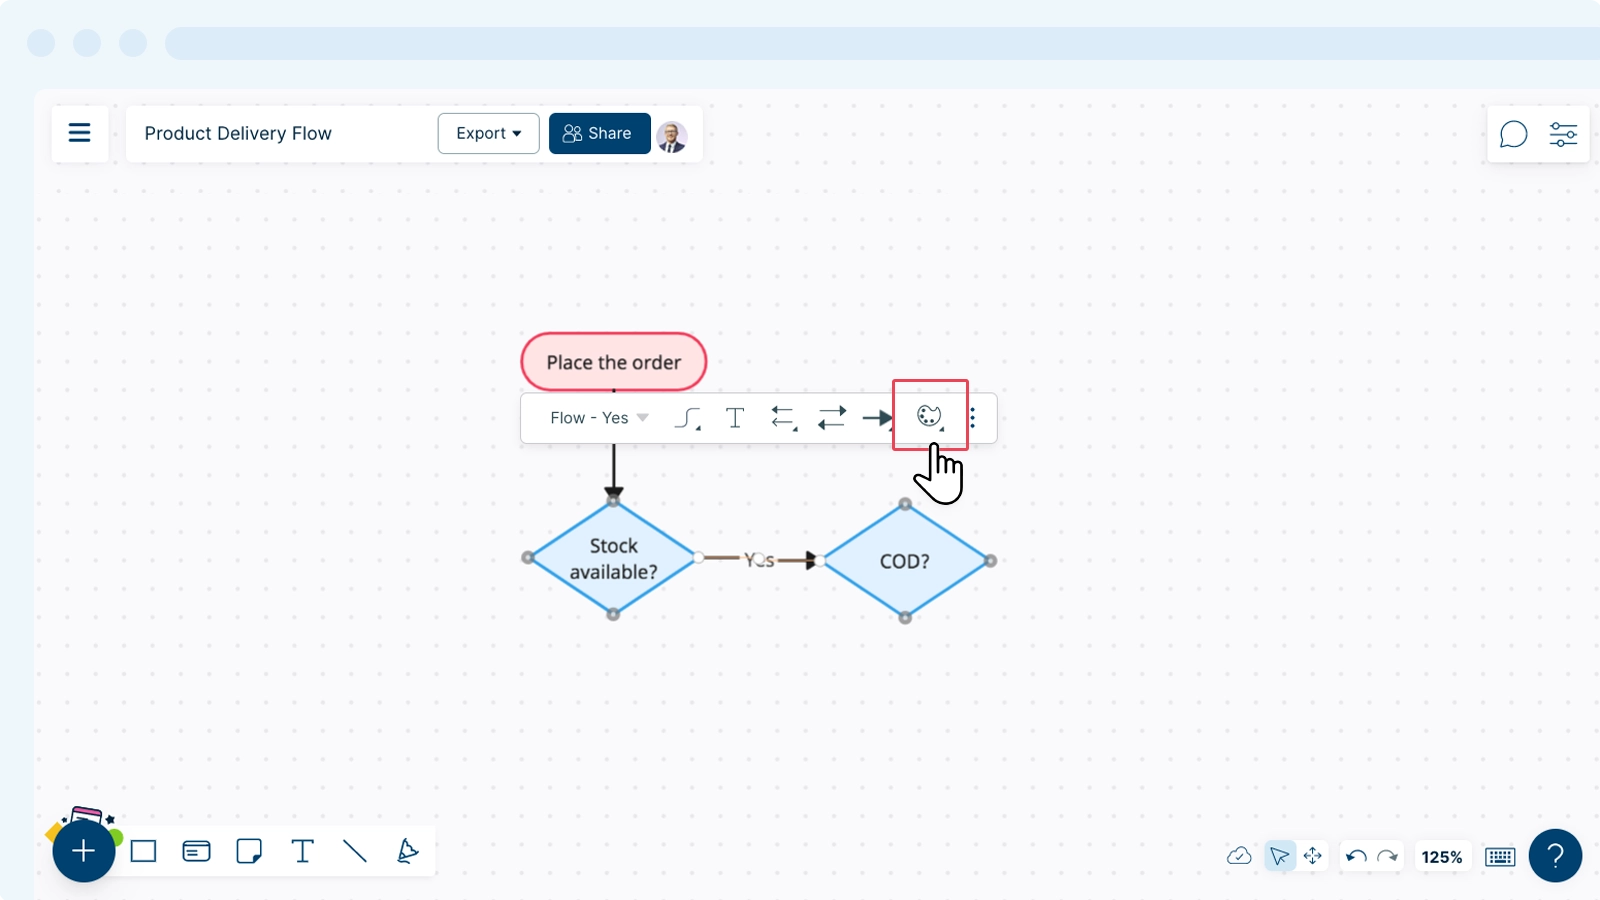
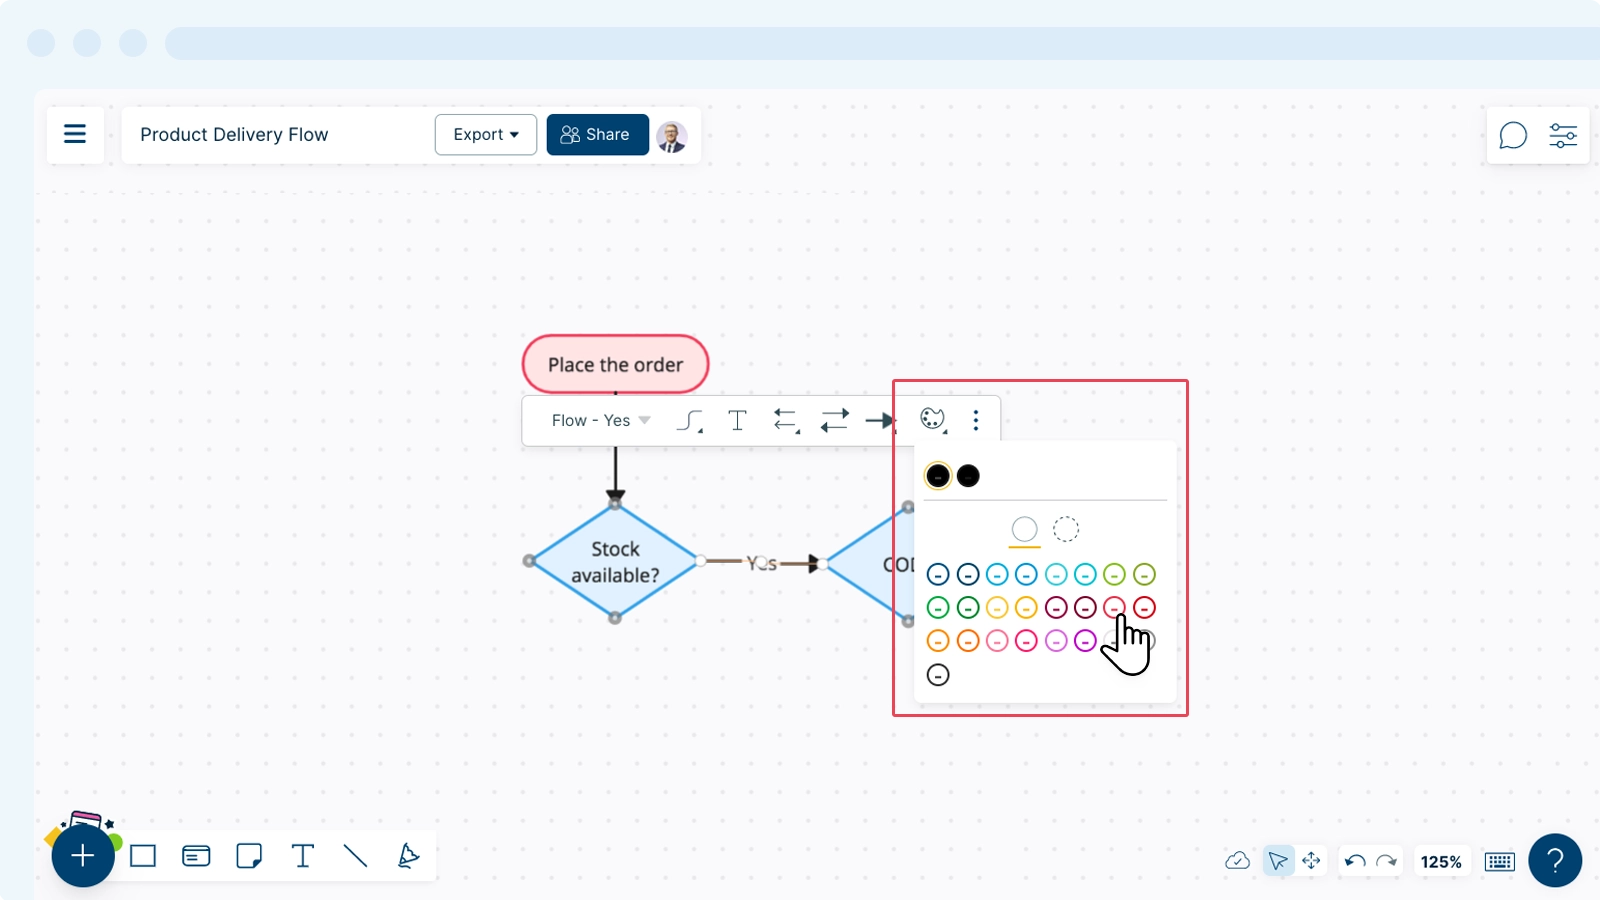
Styling Line Connectors
- Select the connector you want to style.
- Select
 Style from the contextual toolbar.
 - Select the connector you prefer to stylize, then the contextual bar will appear.

Using Custom Glue Points for Connectors
A glue point helps you connect lines between shapes. Usually, when you try to connect two shapes together with a line, the glue points or the connector points appear on the most common points of the shape. This is convenient, except when you want your line connected to a different place on the shape.

You can place a custom glue point in a different place on the shape as follows:
- Click on the shape you want to start the connector from.
- Click on the Draw Connector icon in the contextual toolbar.
- Click on the tip of the connector and drag it to where you want it to connect.
- Hold the connector for 2 seconds in the exact spot you want it to connect - wait for the glue point to appear. Once connected, you can deselect the connector and continue editing.