If you’ve already read our previous guide on what a mind map is, you know how useful this tool can be for organizing thoughts and ideas. In this guide, we’ll walk you through the straightforward steps on how to make a mind map. Whether you’re planning a project, brainstorming ideas, or studying for an exam, this guide will help you use mind maps effectively. Let’s get started!


How to Make a Mind Map in 7 Steps
Let’s dive into the detailed steps on how to make a mind map. From starting with a central idea to refining your final map, each step is designed to help you organize and visualize your thoughts effectively. Follow these steps to make a clear and comprehensive mind map that suits your needs.
Step 1: Start with a central idea
The central idea is the focal point of your mind map. It represents the main subject you’re exploring. This idea should be broad enough to encompass the various aspects you want to cover, but specific enough to provide a clear focus.
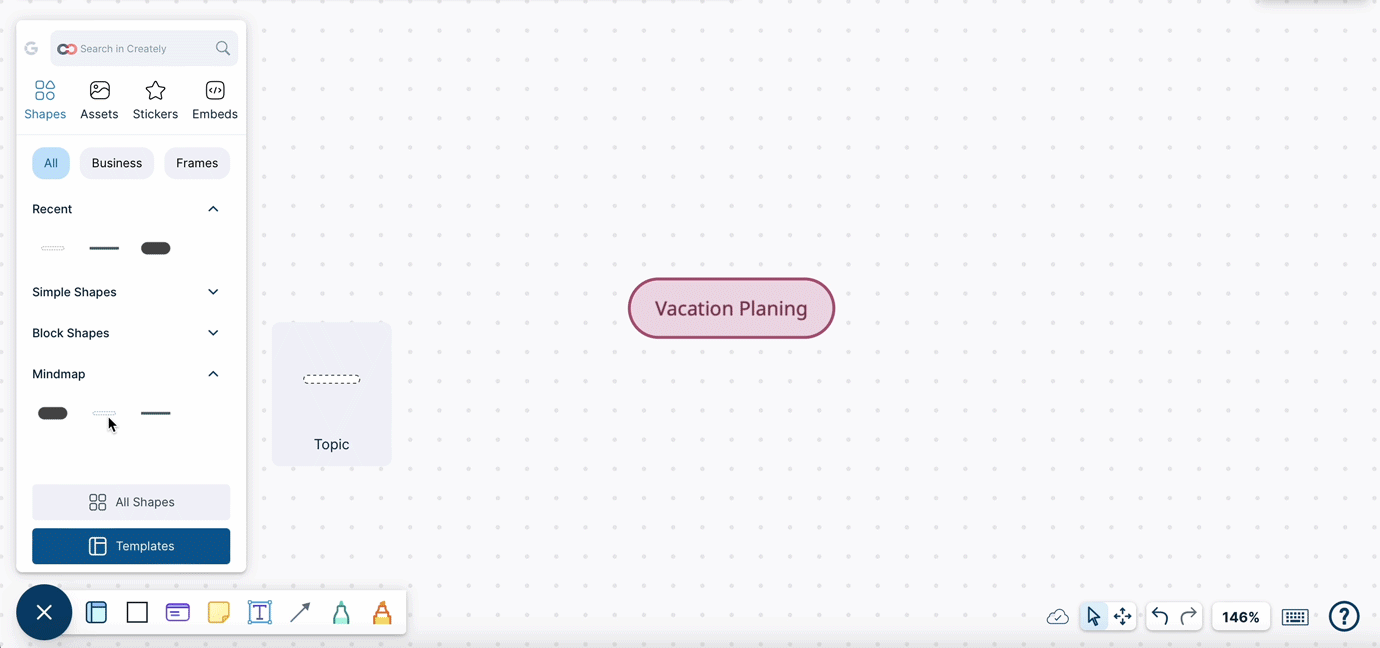
- Choose your central idea: Think about the main topic or question you want to explore. For instance, if you’re planning a vacation, your central idea could be “Vacation Planning.”
- Place it centrally: On a blank page or digital canvas, write this idea in the center. Use a large font or bold letters to make it stand out. If you’re using a digital tool, you can add a central image or icon that represents your topic.
- Visual representation: To make the central idea more engaging, you might use a circle, cloud, or other shapes around it. This visual representation helps to draw attention and sets the stage for branching out.
Tip: You can use colors or images that are relevant to the central idea to make it more visually appealing.
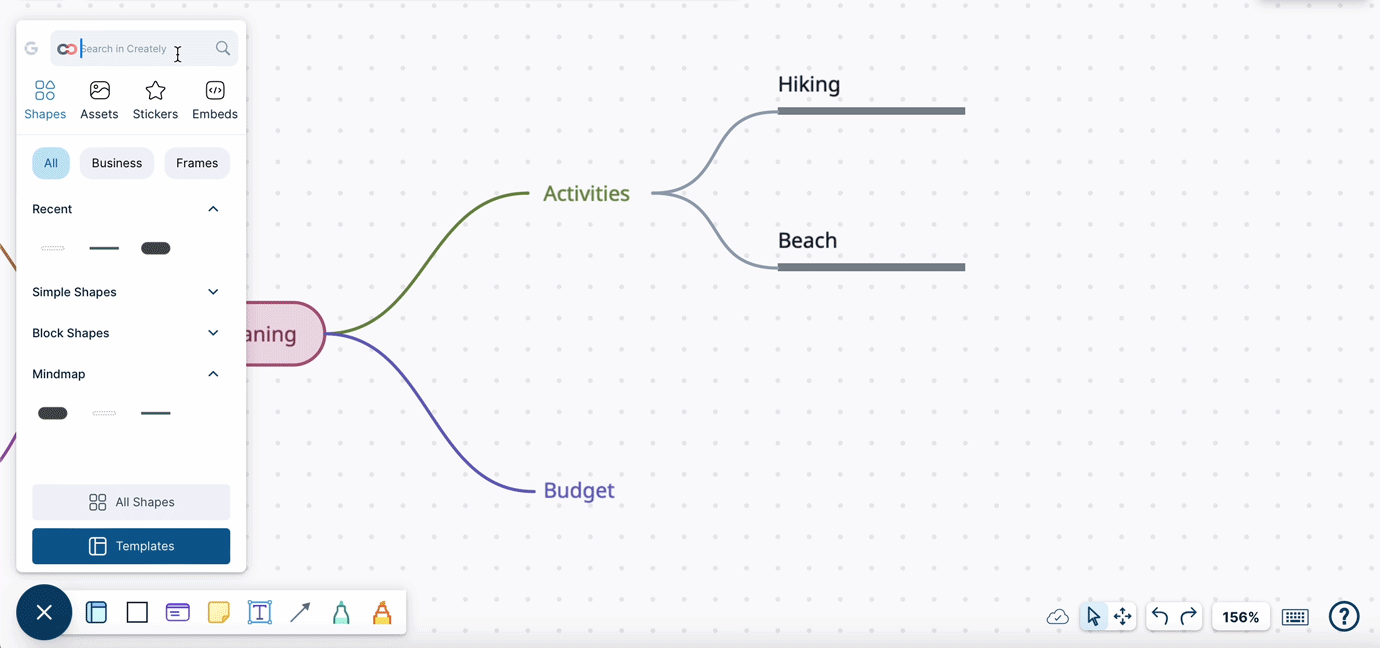
Step 2: Add main branches for key concepts
Main branches represent the major categories or key concepts that stem from the central idea. They help in breaking down the central topic into manageable parts.
- Identify key concepts: Think about the main components or categories related to your central idea. For example, under “Vacation Planning,” key concepts might include “Destinations,” “Budget,” “Itinerary,” and “Accommodation.”
- Draw main branches: From the central idea, draw lines or branches extending outward. Label each branch with one of the key concepts. If you’re using paper, you might use different colored pens for each branch. In digital tools, you can use various branch styles.
- Ensure clarity: Keep the labels concise but descriptive enough to convey the main concepts. The branches should be clearly connected to the central idea.
Tip: Organize the branches in a way that visually represents the importance or hierarchy of the concepts. For example, more important or frequently discussed concepts can be placed closer to the central idea.
Step 3: Develop sub-branches for more detail
Sub-branches dive deeper into each main branch, providing detailed information or specific aspects related to each key concept. This step helps in expanding on each main category.
- Break down each key concept: For each main branch, consider what specific details or subtopics are relevant. For example, under “Destinations,” you might have sub-branches like “Beach,” “Mountain,” and “City.”
- Draw sub-branches: From each main branch, draw additional lines or sub-branches. Label these with the specific details or subtopics. Keep these sub-branches connected to their respective main branches.
- Use keywords: Like with the main branches, use keywords or short phrases for the sub-branches to maintain clarity.
Tip: Ensure that sub-branches are not too crowded. Space them out to keep the mind map organized and easy to follow.
Step 4: Use keywords and short phrases
Using keywords and short phrases instead of full sentences helps keep your mind map clear and easy to read. It focuses on capturing essential ideas rather than lengthy descriptions.
- Select key terms: For each branch and sub-branch, choose the most important terms or phrases that represent the idea. For example, instead of writing “We need to find a hotel that is both affordable and comfortable,” write “Affordable Hotels.”
- Keep it simple: Avoid lengthy explanations. The goal is to quickly convey the main point or concept.
- Focus on clarity: Ensure that the keywords or phrases you use are easily understandable and directly related to the concept they represent.
- Tip: Use consistent terminology throughout the mind map to avoid confusion and maintain coherence.
Step 5: Incorporate visual elements
Visual elements such as images, icons, and symbols can enhance your mind map by making it more engaging and easier to understand. Consider including images that relate to your key concepts. For example, if you have a branch for “Activities,” you might add an icon of a hiking boot for “Hiking” and a sun for “Beach.”
You can use icons to represent common ideas quickly. Use a calendar icon for “Schedule” or a dollar sign for “Budget.” Ensure that the visual elements you use are relevant and add value to the understanding of the concepts.
Additionally, take time to stylize your mind map using colors, fonts, and line styles to differentiate between branches and ideas. This not only adds visual appeal but also helps with categorizing information and making the map easier to navigate. Keep the design consistent and ensure it enhances, rather than distracts from, the content.
Tip: Don’t overuse visuals. Ensure that they complement the text and don’t clutter the mind map.
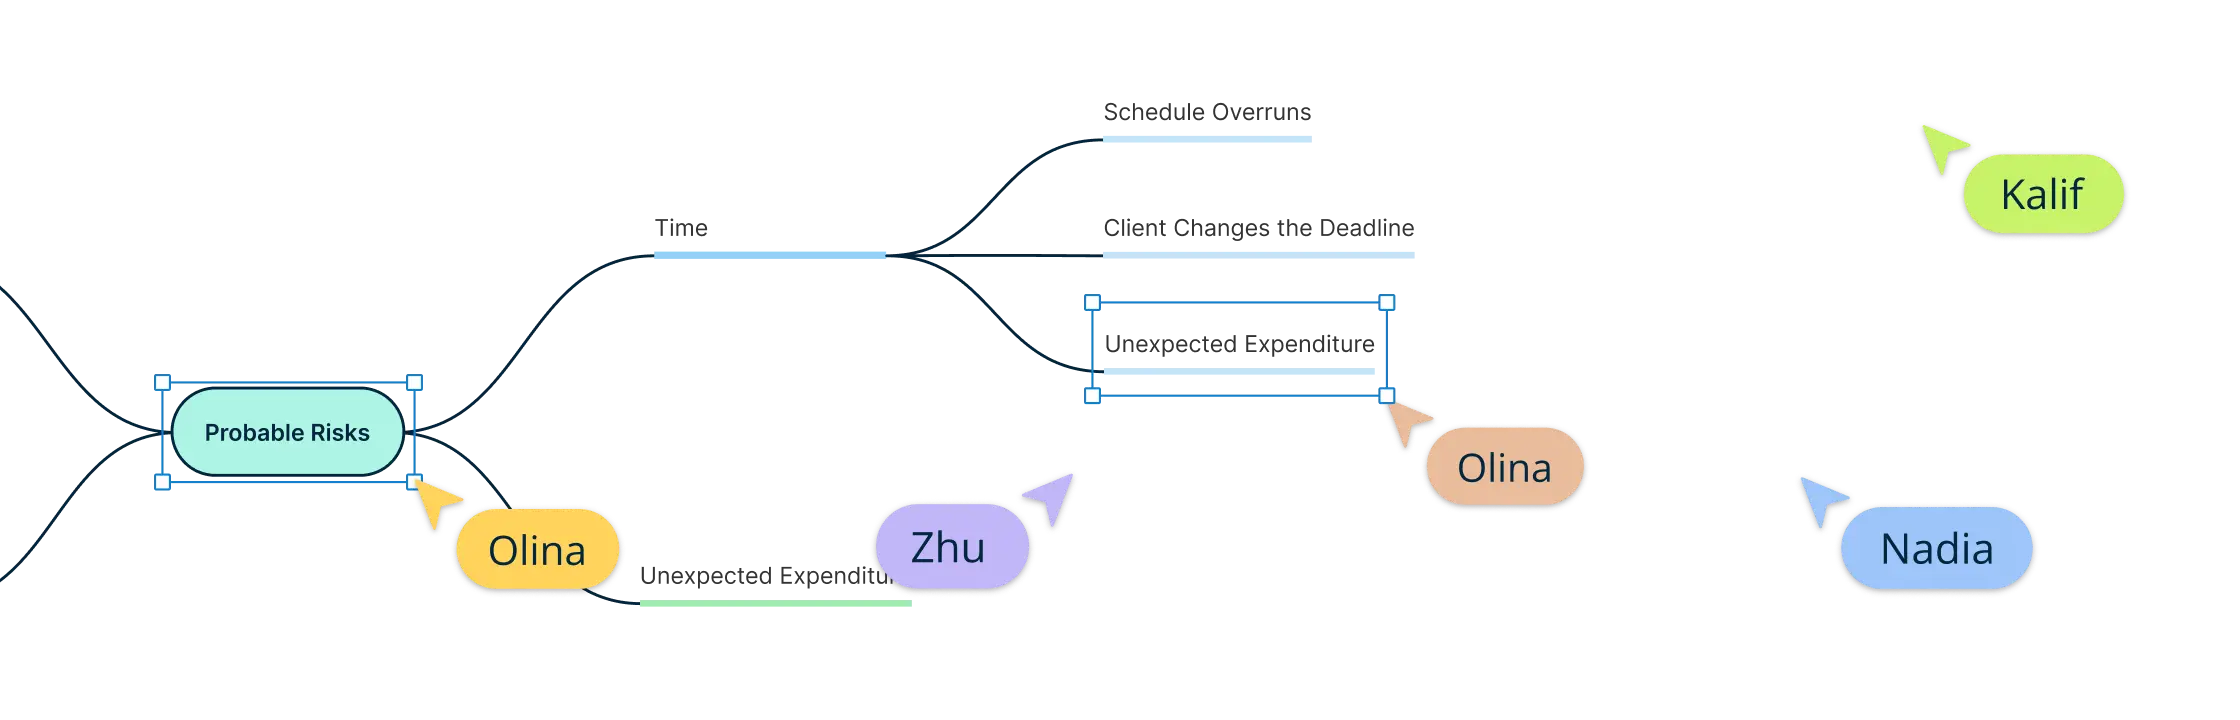
Step 6: Connect related ideas
Connecting related ideas shows the relationships between different concepts and helps to illustrate how they influence or depend on each other.
Look for connections between different branches and sub-branches. For example, “Budget” might be connected to both “Accommodation” and “Activities.” Use lines or arrows to link related ideas. You might use different styles or colors of lines to indicate the nature of the connection (e.g., cause-and-effect, dependencies). If necessary, label the lines or arrows to explain the nature of the relationship.
Tip: Keep connections clear and organized to avoid confusion. Overlapping lines can make the map harder to read.
Step 7: Review and refine
Reviewing and refining your mind map helps ensure that it accurately represents your ideas and is easy to understand.
- Check for completeness: Review your mind map to make sure all important concepts and details are included. Add any missing information if necessary.
- Look for clarity: Ensure that each branch and sub-branch is clearly labeled and easily readable. Adjust any elements that might be confusing or cluttered.
- Seek feedback: If possible, get feedback from others to see if they understand the mind map and if there are any improvements that can be made.
Tip: Keep your mind map flexible and adaptable to accommodate new ideas and changes.
Best Practices for Creating a Mind Map
To make the most out of your mind map, it’s important to follow some best practices. These tips will help you create a more effective and visually appealing map:
- Keep it simple: Focus on key concepts and avoid overcrowding your mind map with too much detail. Use concise labels and clear, direct language to make your map easy to understand at a glance.
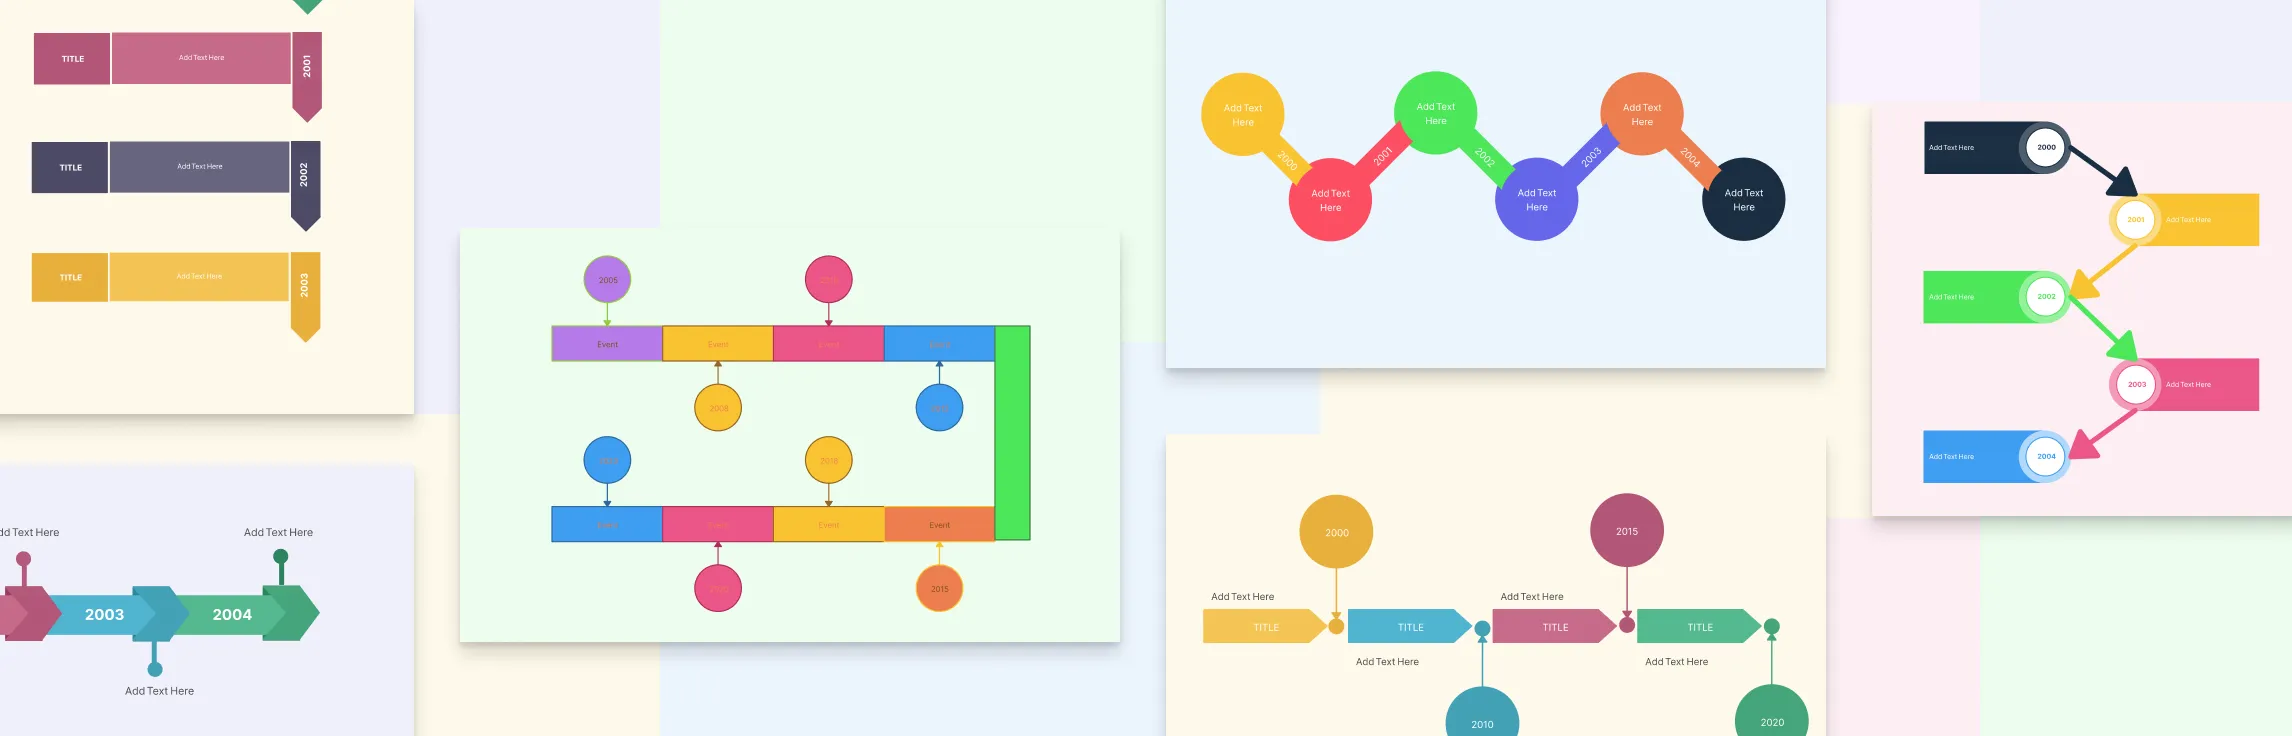
- Use colors and shapes: Different colors and shapes can help distinguish between various branches and concepts. This makes your mind map more engaging and helps you quickly identify different parts.
- Maintain hierarchy: Organize your ideas hierarchically, with the central idea at the center and main branches extending outward. This structure helps to clearly show the relationship between different concepts.
- Be consistent: Use a consistent style for labels, branches, and visual elements. This uniformity helps in maintaining clarity and makes the mind map easier to follow.
- Incorporate visuals: Use images, icons, and symbols to represent ideas visually. This not only makes your mind map more interesting but also aids in better understanding and retention of information.
- Use digital tools: Consider using mind mapping software like Creately for added flexibility, easy modifications, and enhanced visual options. Digital tools often come with features that simplify the process and improve the overall quality of your mind map.
How to Make a Mind Map in Creately
Creating a mind map with Creately’s mind map maker is an easy and intuitive process that helps you organize and visualize your ideas effectively. With a range of features and tools at your disposal, you can build detailed mind maps that cater to your specific needs. Here’s a step-by-step guide to help you get started with making your own mind maps in Creately.
Quickly learn how to make a mind map with Creately with our video tutorial.
1. Start a new mind map
Once you’re logged in, begin by creating a new workspace. You can either select a mind map template from the available options in the template library or opt for a blank canvas if you prefer to start from scratch, in which case you can begin with the mind map shape library.
2. Add the central idea
Drag and drop a central node onto the canvas from the tool’s menu. This node represents your main topic. Click on it to enter your central idea or topic. This central node will serve as the hub from which all other branches will extend.
3. Create branches
To organize your mind map, add main branches that extend from the central node. Each branch represents a major category or key point related to your central idea. You can use the Plus Create feature to create these branches and then click on each one to label it with relevant keywords or titles.
Expand with sub-branches
Once you have your main branches, you can further break down each one by adding sub-branches. These sub-branches provide more detailed information or ideas related to each main branch. Simply click on a main branch and add sub-branches to it, then label these sub-branches with specific details.
5. Customize Your Mind Map
Creately offers various customization options to personalize your mind map. You can adjust the colors, fonts, and shapes of nodes and branches to make your map visually appealing. Additionally, you can import images, and add icons, and links to enhance the map and provide more context.
6. Utilize AI-powered features
Creately VIZ can assist you in creating mind maps by suggesting relevant ideas and connections as you build. This intelligent assistance helps you expand your map with useful concepts and ensures that important details are included, making your mind map more comprehensive. You can also use a prompt to automatically generate your entire mind map with Creately AI mind maps.
7. Use collaboration features
If you’re working on a project with others, Creately’s collaboration tools allow you to invite team members to view or edit the mind map in real-time. Use the “Share” option to send invitations, and team members can leave comments directly on the mind map, facilitating discussion and feedback.
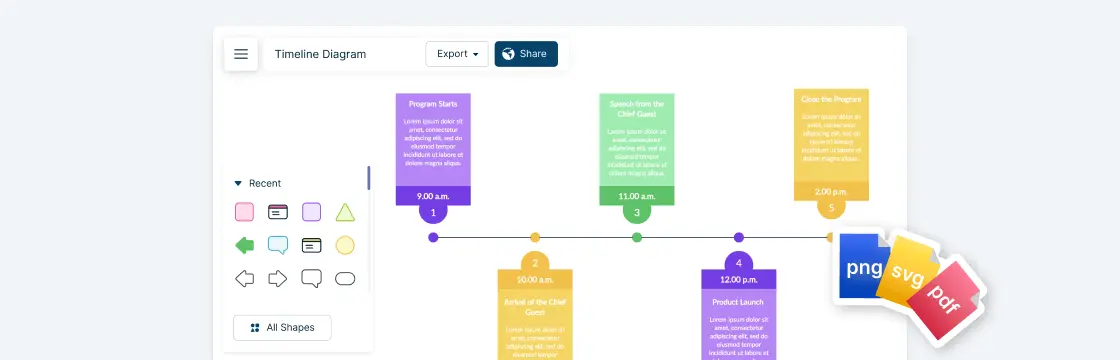
8. Export your mind map
You can also use the “Export” feature to download your mind map in formats like PDF, PNG, or JPEG for sharing or inclusion in reports and presentations. You can also use Creately’s Presentation mode to create an interactive presentation surrounding your mind map right on the canvas.
In Conclusion
Creating a mind map is an excellent way to organize your thoughts, brainstorm ideas, and plan projects effectively. By starting with a clear central idea, using keywords, and employing visual elements, you can develop a map that not only captures your ideas but also presents them in a structured and engaging way. Now that you know how to make a mind map, remember to follow best practices and tips to keep your mind map clear, focused, and adaptable. With these techniques, you’ll be well-equipped to harness the full potential of mind mapping and enhance your productivity and creativity. Happy mapping!