How to Create a Design Board
Picture this: You’re standing in an empty room with ideas on how to design it but unsure how to bring them to life. This is where the design board can help. Whether you’re a seasoned interior designer or a DIY enthusiast, design boards are effective tools that can help you bring your vision to life.
What is a Design Board?
A design board, also known as a mood board or inspiration board, is a visual tool that brings together various elements of a design concept in one place. It’s like a snapshot of your creative vision, combining colors, textures, patterns, and specific items to represent the overall look and feel of a space. Think of it as a puzzle where each piece – from paint swatches to fabric samples – comes together to form a complete picture of your dream room.
But design boards aren’t just pretty collages. They’re powerful planning tools that can save you time, money, and countless headaches as you embark on your design journey. Let’s dive deeper into why these visual roadmaps are essential for any successful interior design project.
Why Make a Design Board?
Visualization: With a design board, you can show instead of tell. It brings your ideas to life in a tangible way, making it easier to communicate your vision to clients, contractors, or even skeptical family members.
Cohesion: Design boards help you see how different elements work together before you commit.
Decision-making: Feeling overwhelmed by choices? A design board narrows down your options, making decisions more manageable. It’s like having a personal stylist for your space.
Inspiration: Stuck in a creative rut? Creating a design board can spark new ideas and push you out of your comfort zone. You might discover unexpected combinations that take your design to the next level.
Budget planning: By gathering all your elements in one place, you can better estimate costs and prioritize where to splurge or save.
What Can You Use a Design Board For?
The versatility of design boards extends far beyond just interior design. Here are some creative applications:
- Room makeovers: From cozy bedrooms to spa-like bathrooms, design boards help you plan every detail.


Branding projects: Businesses use design boards to define their visual identity, from logos to website design.
Wedding planning: Coordinate everything from flower arrangements to table settings with a comprehensive design board.

Fashion styling: Create cohesive outfits or plan a capsule wardrobe with a fashion-focused design board.
Garden design: Plan your outdoor oasis by combining plant types, hardscaping elements, and color schemes.
Product design: From packaging to the product itself, design boards guide the development process.
The possibilities are endless – anywhere you need to bring multiple design elements together, a design board can help streamline the process and ensure a cohesive result.
Step-by-Step Process to Make a Design Board
Creating a design board can transform your design ideas into visual renditions that are easy to evaluate, modify, and share. Here’s a detailed step-by-step guide:
Starting Your Design Board
1. Set Your Design Goals
Begin with defining what you want to achieve with your design board. Are you visualizing a room makeover, planning a project, or organizing your ideas? Clear goals will guide your design process.
2. Gather Inspiration
Platforms like Pinterest, design magazines, and websites are treasure troves of ideas. Prowl these sources and start curating a collection of images, colors, and styles that resonate with your vision. Save these images to a dedicated folder on your computer.
3. Choose a Focal Point
Select a standout item like a four-poster bed or a large piece of wall art to anchor your design. This focal point will influence the rest of your design choices, ensuring a cohesive look.
Arranging Your Design Board
4. Layout and Organization
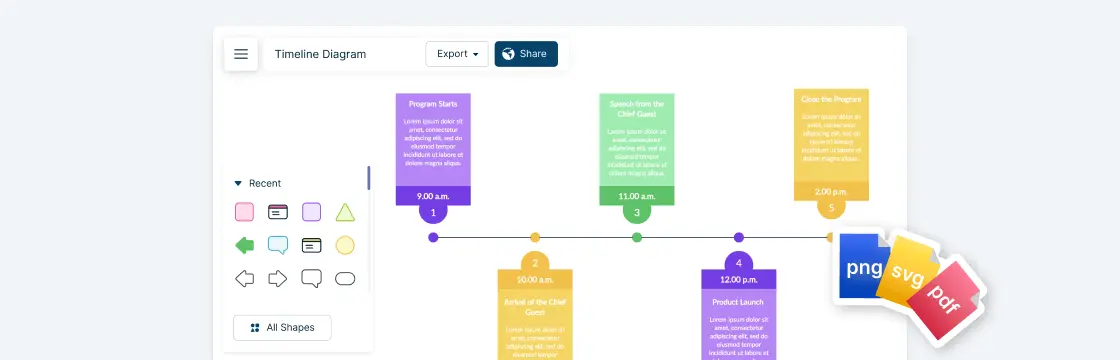
Start placing your collected images onto a blank canvas in your chosen design board software. Tools like Creately are excellent for collaborative planning and cloud-based execution.
5. Editing and Refining
Edit your images for consistency. Use background removal tools to eliminate distractions and crop images to highlight important elements. Make use of Creately’s intuitive design tools for this purpose.
6. Final Touches
Incorporate textures, decor items, and small touches to enhance realism. Experiment with different combinations until you achieve a balanced and appealing design.
By following these steps, you can create a design board that not only aligns with your vision but also serves as a practical roadmap for your design project. Embrace the process, as the time spent on crafting a detailed design board can save you from potential design mishaps and align the outcome with your expectations.
Gathering Inspiration and Images for the Design Board
Sources of Inspiration
Before creating your design board, collect many inspiring ideas. Good sources include:
Pinterest: Useful for finding various ideas and deciding on your style.
Design magazines: Offer high-quality photos you can scan and add to your digital collection.
Websites:
- Google Images: Provides a wide range of design images.
- Retail sites like Overstock.com and Target.com: Show many product options.
These sources give you different design ideas to choose from. Use them to find images and styles you like before starting your design board
Organizing Inspiration Images
Once you have collected your images, organizing them efficiently is the next step. Having a structured approach will make it easier to curate the images and ensure a smoother workflow. By using Creately, you can also collaborate with team members in real-time, making the process of image selection more dynamic and inclusive.
Use a dedicated folder for each project.
Label images.
Group images by themes, colors, or types (e.g., furniture, lighting, decor).
Collecting High-Quality Images
The quality of the images you gather can significantly affect the outcome of your design board. Always aim for high-resolution images that will look clear and professional. You can save images by right-clicking and selecting ‘Save As,’ or by taking screenshots. Remember, higher-quality images will provide a more accurate representation of your design and help in making informed decisions.
Presenting Your Design Board
Presenting your final design board effectively is crucial for obtaining buy-in from clients or team members. Start with a clear and concise introduction, outlining the design objectives and the problem you’re addressing. Incorporate visual aids such as idea boards to offer a comprehensive view of the design elements. Ensure the images are high-resolution and well-organized to maintain professionalism.
Utilize storytelling techniques to guide your audience through the design journey. Explain your choices regarding color schemes, textures, and focal points. This narrative format helps in connecting with your audience on an emotional level, making your design more relatable and impactful.
Sharing Your Design Board
Sharing your design board efficiently ensures that all stakeholders have access to the latest version and can provide real-time feedback. Creately facilitates seamless collaboration, allowing team members to comment and suggest changes directly on the design board. This feature not only expedites the decision-making process but also enhances team coordination.
Creately enables you to export your design board in multiple formats such as JPEG, PDF, or PNG. These formats are universally accessible and easy to distribute via email or project management tools. Additionally, Creately offers robust version control, enabling you to track changes and revert to previous versions if needed.
Remember to tailor your presentation to your audience. For clients, focus on the benefits of the design and how it aligns with their vision. For team members, emphasize the technical details and the collaborative aspects of the design process. Effective presentation and sharing can significantly impact the project’s success, ensuring that all parties are aligned and invested in the final outcome.
Avoiding Common Pitfalls When Creating a Design Board
Here are several common mistakes to avoid to ensure your design is cohesive and effective. Here are some of the most frequent pitfalls and how you can sidestep them:
Not Setting Clear Design Goals: Before you start, define your objectives clearly. Ask yourself what you aim to achieve with the design board. This direction will guide your entire process and ensure you stay on track.
Ignoring the Importance of a Focal Point: Choose a standout item, such as a large piece of furniture or an eye-catching piece of decor, to base the rest of your design around. This helps in creating a balanced and visually appealing layout.
Neglecting High-Quality Images: Your design board’s effectiveness largely depends on the quality of the images you use. Gather high-resolution images to ensure clarity and realism. This can be done through sources like Google Images, Pinterest, and retail websites.
Not Maintaining Consistency: Ensure your design elements align in terms of color schemes, textures, and styles. This consistency helps in creating a harmonious look that accurately represents your vision.
Overlooking Collaboration and Feedback: Collaborate with your team members and clients and make sure to collect their feedback. Real-time feedback is invaluable for refining your design and making necessary adjustments.
Ensuring a Successful Design Board
Achieving a successful design board involves diligence and attention to detail. Here are some additional tips to ensure the success of your design:
Regularly Review Your Progress: Periodically step back and evaluate your design to ensure it aligns with your goals.
Be Open to Revisions: Don’t hesitate to make revisions if something doesn’t seem to fit. Flexibility can lead to a more refined and successful outcome.
Leverage Advanced Tools: Take full advantage of tools like Creately, which offer advanced features for a more professional look and collaborative approach.
By keeping these common mistakes in mind and applying these tips, you can create a design board that is both stunning and functional, making your design goals more attainable.
Wrapping Up
Creating a design board is an essential step in visualizing and planning your design projects. It provides a cohesive view of how different elements will come together, ensuring that your room or project aligns with your vision before any execution begins. Whether you are an interior designer, a business strategist, or an artist, the benefits of using a design board are countless. Enhanced team collaboration, real-time feedback, and a shared visual workspace are just a few of the key advantages you can gain.
FAQs About Design Boards
How do I make a free design board?
To make a free design board:
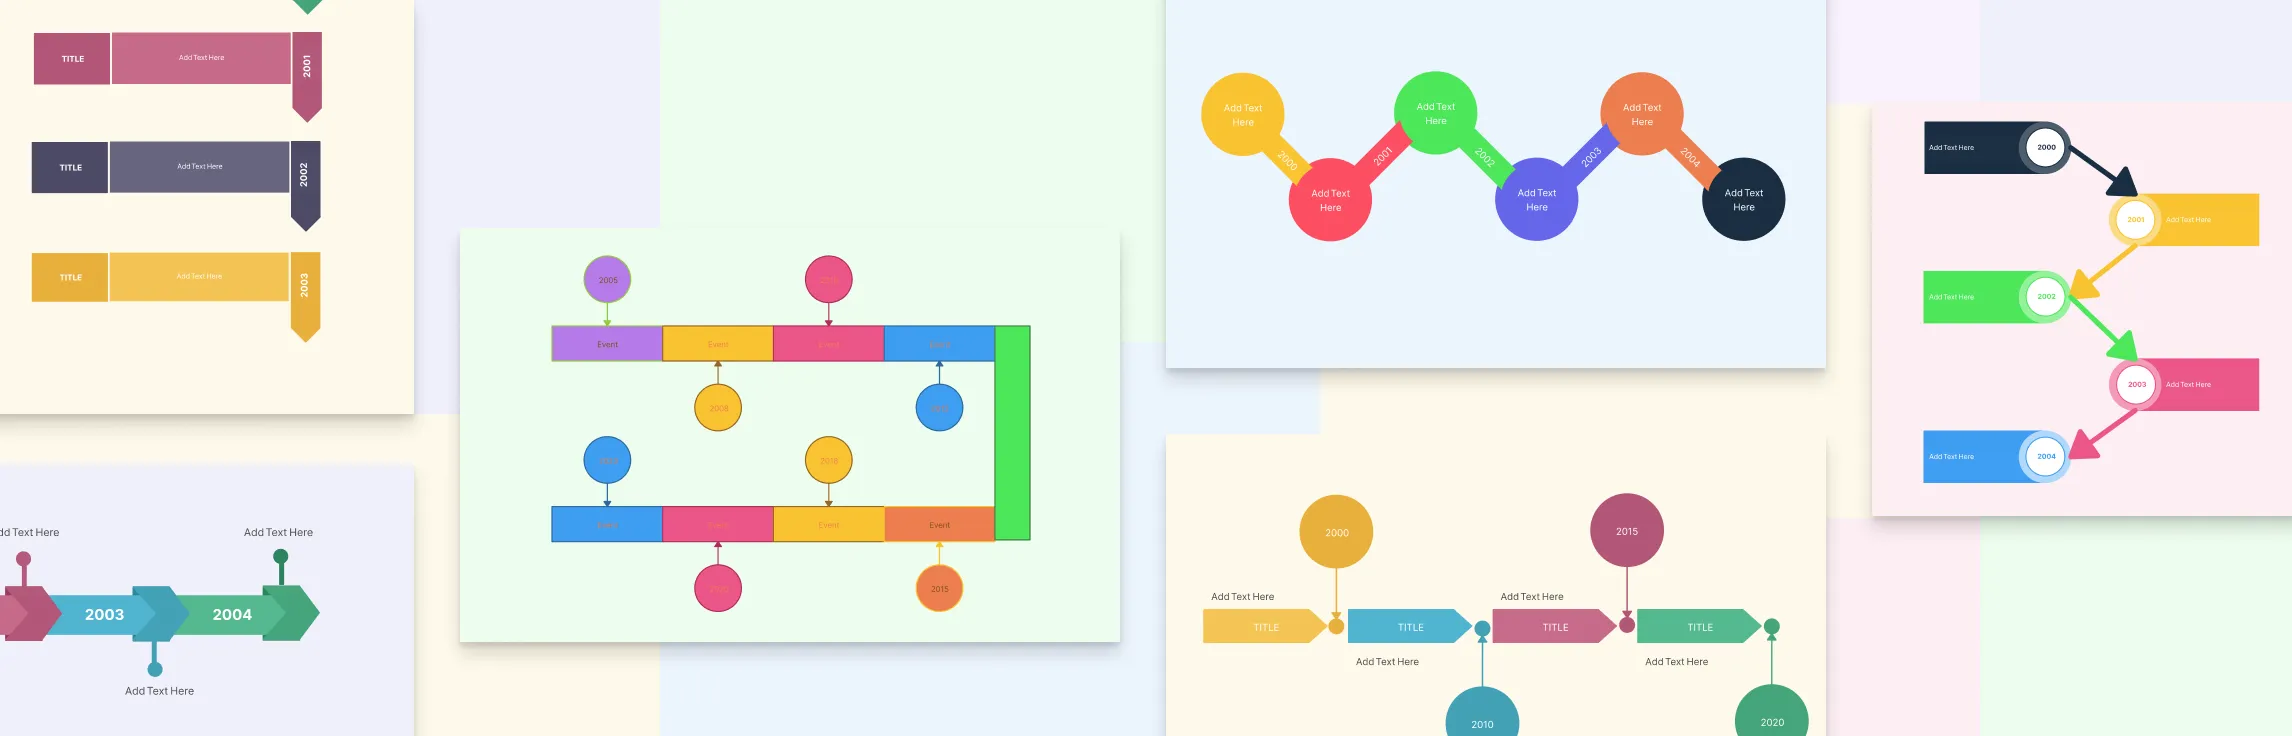
Choose a free online tool like Creately, Canva, Pinterest, or Moodboard.
Select a blank canvas or template.
Upload or search for images that represent your design ideas.
Arrange the images on your board.
Add text, colors, or other design elements as needed.
Save and share your completed design board.