A requirements document can describe an application in detail and still leave users surprised when they first see it. Rapid application development (RAD) addresses that gap by putting working prototypes in front of users early, then refining the application through repeated feedback and construction cycles. The speed comes from learning and making decisions sooner, not from skipping quality checks.
This guide explains the four classic RAD phases, a practical example, where the method fits, and how it differs from agile and waterfall. It also shows how to map the process, prototype workflow, and delivery roadmap in Creately.
What Is Rapid Application Development?
RAD is a software development method built around short design-and-build iterations and frequent user involvement. A team agrees on the problem and major constraints, creates a prototype, gets users to try it, and improves the design and working software in response. The result of an iteration is something people can inspect and test, not just a longer specification.
The four-phase model commonly associated with James Martin is requirements planning, user design, construction, and cutover, as described in IBM’s RAD overview. Testing and feedback run through the middle phases and continue into release readiness. RAD does not mean that every project can be delivered quickly: integration complexity, unavailable users, or stringent controls can limit how much can be learned through rapid prototypes.
For the broader software lifecycle, see our agile software development cycle guide. RAD is one way to organize application delivery within that wider context.
The Four Phases of RAD
1. Requirements planning: agree on the problem
The team and decision makers define the user problem, target outcome, essential capabilities, budget, deadline, technical constraints, and any non-negotiable security or compliance requirements. The goal is enough shared direction to start learning—not a promise that every interface detail is already known.
Useful output: A short scope statement, prioritized user needs, success measures, known risks, and a decision about who can approve changes. If an existing system must be integrated, identify its owner and interface constraints now.
2. User design: prototype with users
Designers, developers, and users work together on screens, navigation, and task flows. A low-fidelity sketch can answer an early layout question; a clickable prototype can test whether users can complete a task. Record what users tried, where they hesitated, and what should change next. Avoid treating the first positive reaction as final acceptance.
A prototype storyboard can show the sequence of interactions before the team invests in detailed screens. A user flow helps check where a person enters, makes decisions, and completes a task.


3. Construction: build, test, and revise
Developers turn the validated design into working application slices. Each slice should be small enough to demonstrate, test, and revise. Product and engineering partners decide which feedback improves the current release and which requests belong in a later iteration. Automated tests, integration checks, accessibility review, and security work still matter; omitting them creates rework that cancels the time saved by prototyping.
Map the intended loop as build → test → user review → decide → revise or accept. The app development process flowchart below is a starting point for the overall lifecycle. Add a feedback arrow from user review back to design or construction so the diagram reflects RAD rather than a one-way sequence.

4. Cutover: release and support the application
The team completes release testing, data migration or integration checks where needed, training, and support handoff. Users confirm that the important workflows work in the intended environment. Document known limitations and assign an owner for post-release feedback. A prototype that looked useful in a review is not a substitute for a production readiness decision.
Useful output: Accepted release criteria, a rollout and rollback plan, user guidance, support ownership, and a list of improvements for the next cycle.
RAD Example: A Customer Support Case Dashboard
Imagine an internal support team that handles cases in several systems and struggles to see ownership and status in one place. The team wants a dashboard before its next intake expansion.
- Plan the first release. Agree that agents need to find a case, see its owner and status, and record a handoff. Confirm data access, privacy rules, and which source system remains authoritative.
- Prototype the main task. Sketch the search screen and case view, then ask agents to complete realistic tasks. Their feedback shows that the proposed status labels are ambiguous.
- Build one usable slice. Implement search and case viewing against a safe test dataset. Let agents try it, fix confusing labels, and test access permissions and response time.
- Add the next slice. Build a handoff action and show the receiving agent what changed. Defer a requested reporting dashboard until the core handoff works reliably.
- Cut over deliberately. Test the full case flow, train a small group, confirm support ownership, and expand rollout only after the release criteria are met.
This is a RAD example because feedback changes the product while it is being designed and built. The team still controls scope, validates integration, and makes a formal release decision.
Benefits and Limitations of RAD
| Potential benefit | What enables it | Tradeoff to manage |
|---|---|---|
| Earlier understanding of user needs | People test concrete prototypes | Users must be available and representative |
| Faster correction of poor assumptions | Teams review small working slices | Unprioritized requests can expand scope |
| Better visibility into progress | Each iteration produces something demonstrable | A polished demo may hide integration or quality gaps |
| Flexible interface design | Screens and task flows can change after feedback | Architecture and documentation can drift without ownership |
RAD works best when the team can make timely decisions, reach users regularly, and keep technical and release safeguards visible. Its speed is less compelling if every iteration waits weeks for review or if changes require extensive external approval.
When Should You Use RAD?
Consider RAD when:
- User needs are real but interface or workflow details are uncertain.
- Representative users can review prototypes and working slices frequently.
- The product can be divided into meaningful increments.
- The team can integrate and test changes without destabilizing critical systems.
- Decision makers can keep scope and acceptance criteria current.
Consider a different delivery approach, or add stronger controls, when:
- The outcome is tightly specified and changes must follow formal approval gates.
- Safety-critical behavior or complex architecture needs substantial analysis before implementation.
- Key users cannot participate until the end of the project.
- The system cannot be divided into testable slices without risky integration work.
A small pilot can settle uncertainty: identify one high-value workflow, decide what a prototype must prove, and check whether the required users and systems are actually available.
RAD vs. Agile vs. Waterfall
These terms describe related but different choices. RAD is a specific way to build applications through rapid prototypes and user collaboration. Agile is a broader family of values and practices for iterative, adaptive work. Waterfall organizes delivery into sequential stages with more of the scope defined early.
| Question | RAD | Agile approaches | Waterfall |
|---|---|---|---|
| How is learning handled? | Users react to prototypes and working slices | Teams inspect increments and adapt the backlog | Changes usually pass through a planned change process |
| What structures the work? | Design, construction, and feedback loops around an application | A chosen framework or team practice, such as Scrum or Kanban | Defined stages and approvals |
| When is it a strong fit? | Interface-heavy applications with reachable users and uncertain details | Evolving products that need sustained iterative delivery | Stable requirements or tightly governed stage gates |
| What needs attention? | User access, scope control, architecture, and release quality | Team cadence, prioritization, and cross-team coordination | Late feedback and the cost of changing an approved design |
RAD and agile can coexist: a team may use agile planning and still run RAD-style prototype reviews for a feature. Neither approach removes the need for engineering discipline. See our agile workflows guide for a closer look at iterative team practices.
Map the RAD Workflow and Roadmap in Creately
Three visuals answer different questions during a RAD project:
- Process flow: Where does feedback enter the development cycle? Adapt the app-development flowchart above to show review and revision loops, with owners for each decision.
- Prototype workflow: Which user task are we testing, and what should the next screen or state be? Use the storyboard above, or a user-flow wireframe, to focus each test on a concrete task.
- Project roadmap: Which capabilities and validation milestones are planned for each release? Adapt the agile roadmap template below to show prototype reviews, working slices, integration checks, and cutover. Treat dates as forecasts until the team has evidence from real iterations.

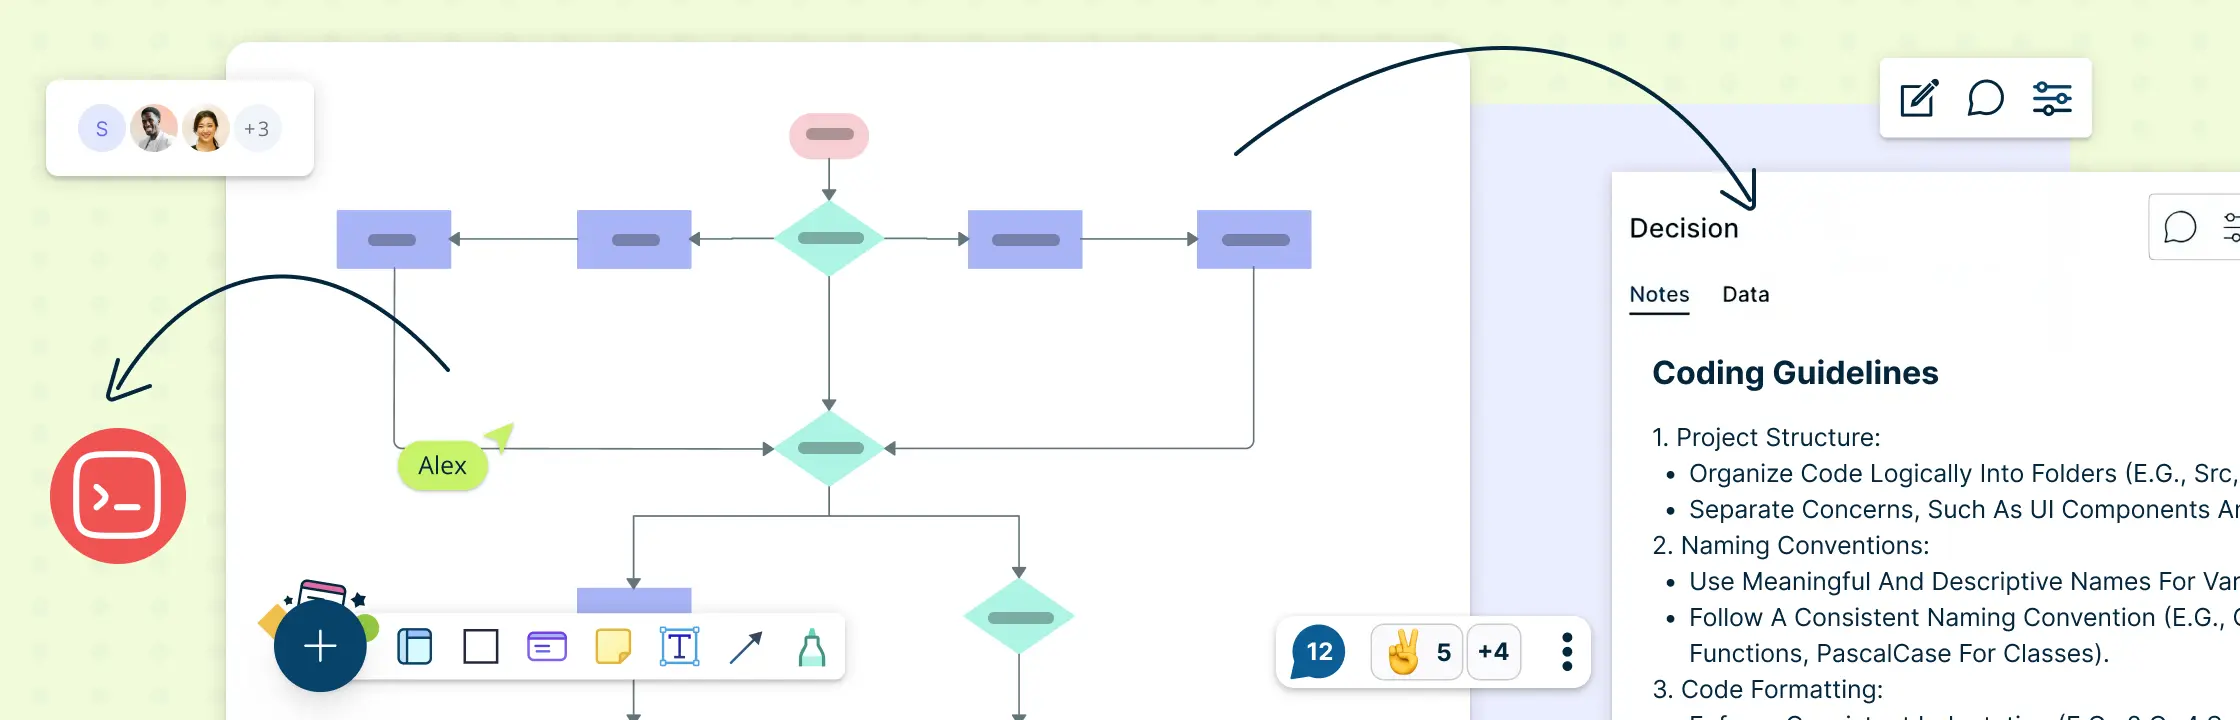
Creately Workspace lets the team edit diagrams together and add comments around the flow, prototype, and roadmap. Use those visuals to discuss and record decisions; engineering tools remain responsible for building, testing, deploying, and monitoring the application. For more on milestones and ownership, see how to create a project roadmap.
More Templates for a RAD Project
These additional templates support detailed interaction design and release coordination. They are different from the flowchart, storyboard, and roadmap shown in the guide body.


Helpful Resources for Application Planning
Explore iterative software delivery and its stages.
See software and cross-functional workflow examples.
Plan goals, milestones, and delivery decisions at a high level.