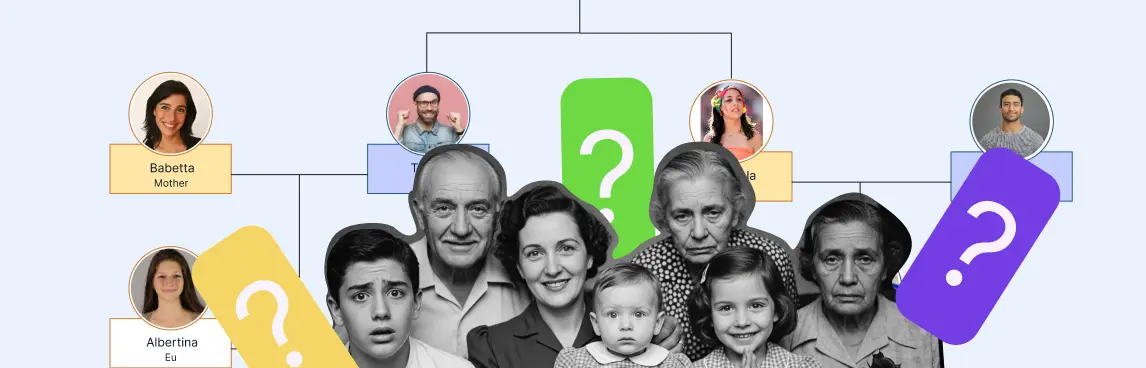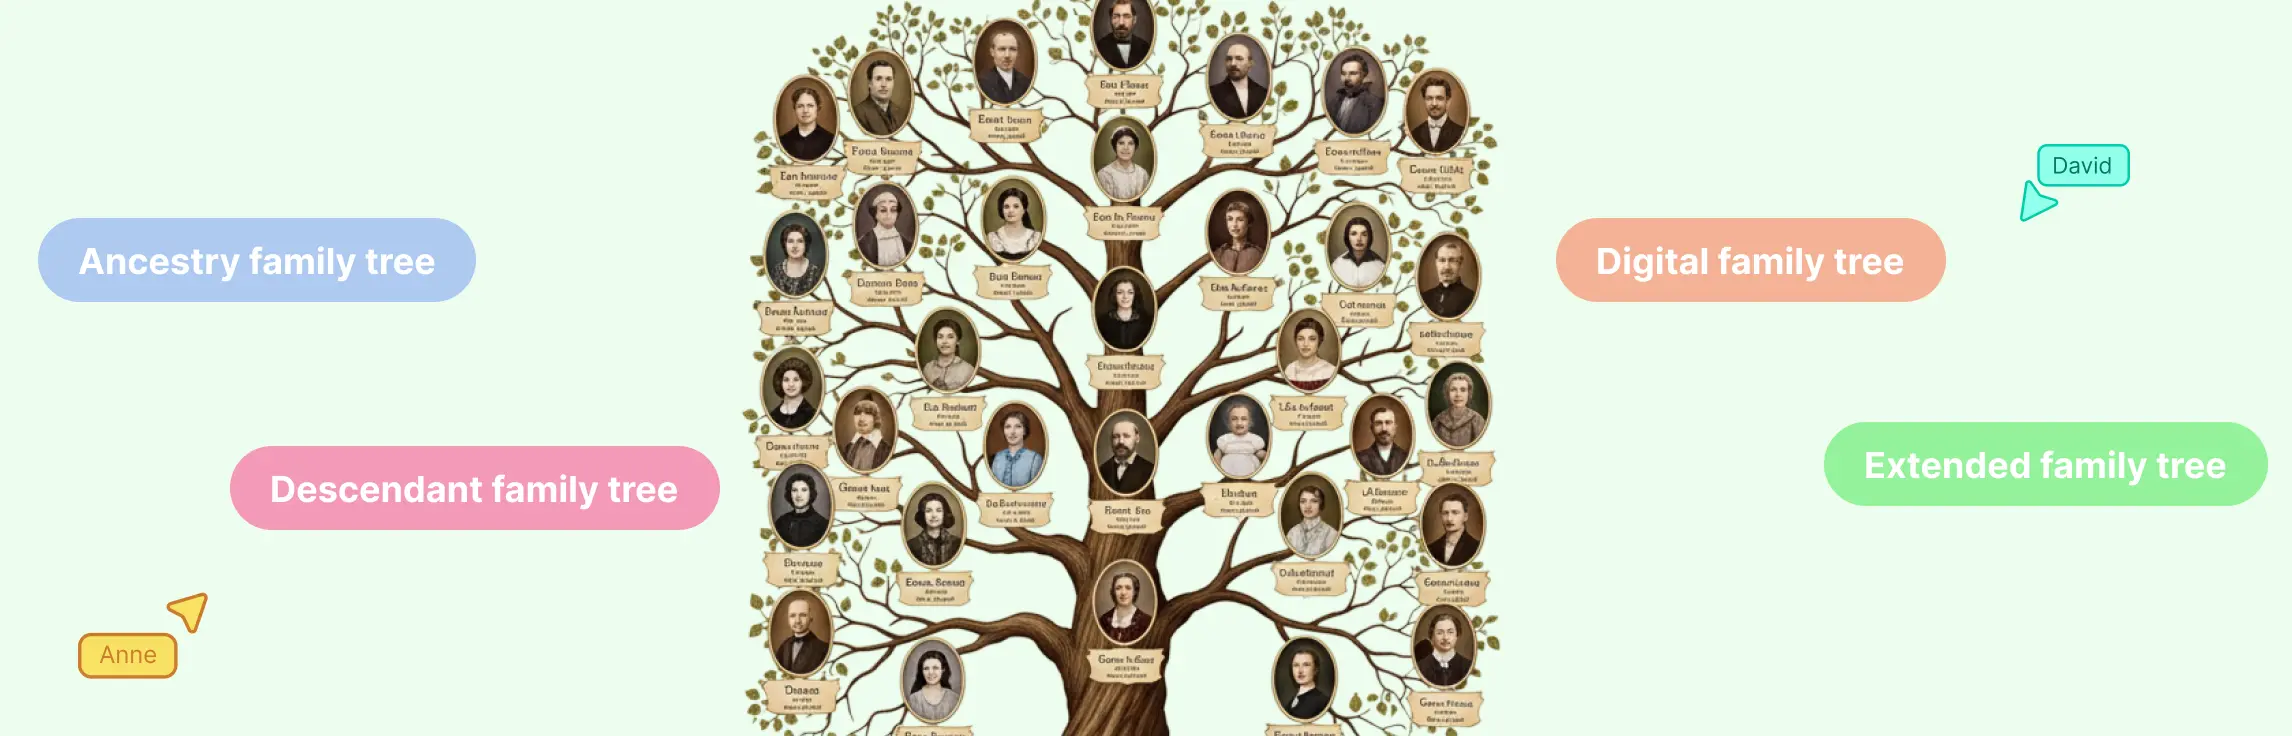
A multi-generation family tree is a visual chart that connects at least three generations, such as grandparents, parents, and children. Start with the editable template below, replace the sample people with your own family information, and expand one verified branch at a time. This guide shows how to build, organize, review, print, and share a tree that stays readable as it grows.
Multi-Generation Family Tree Template
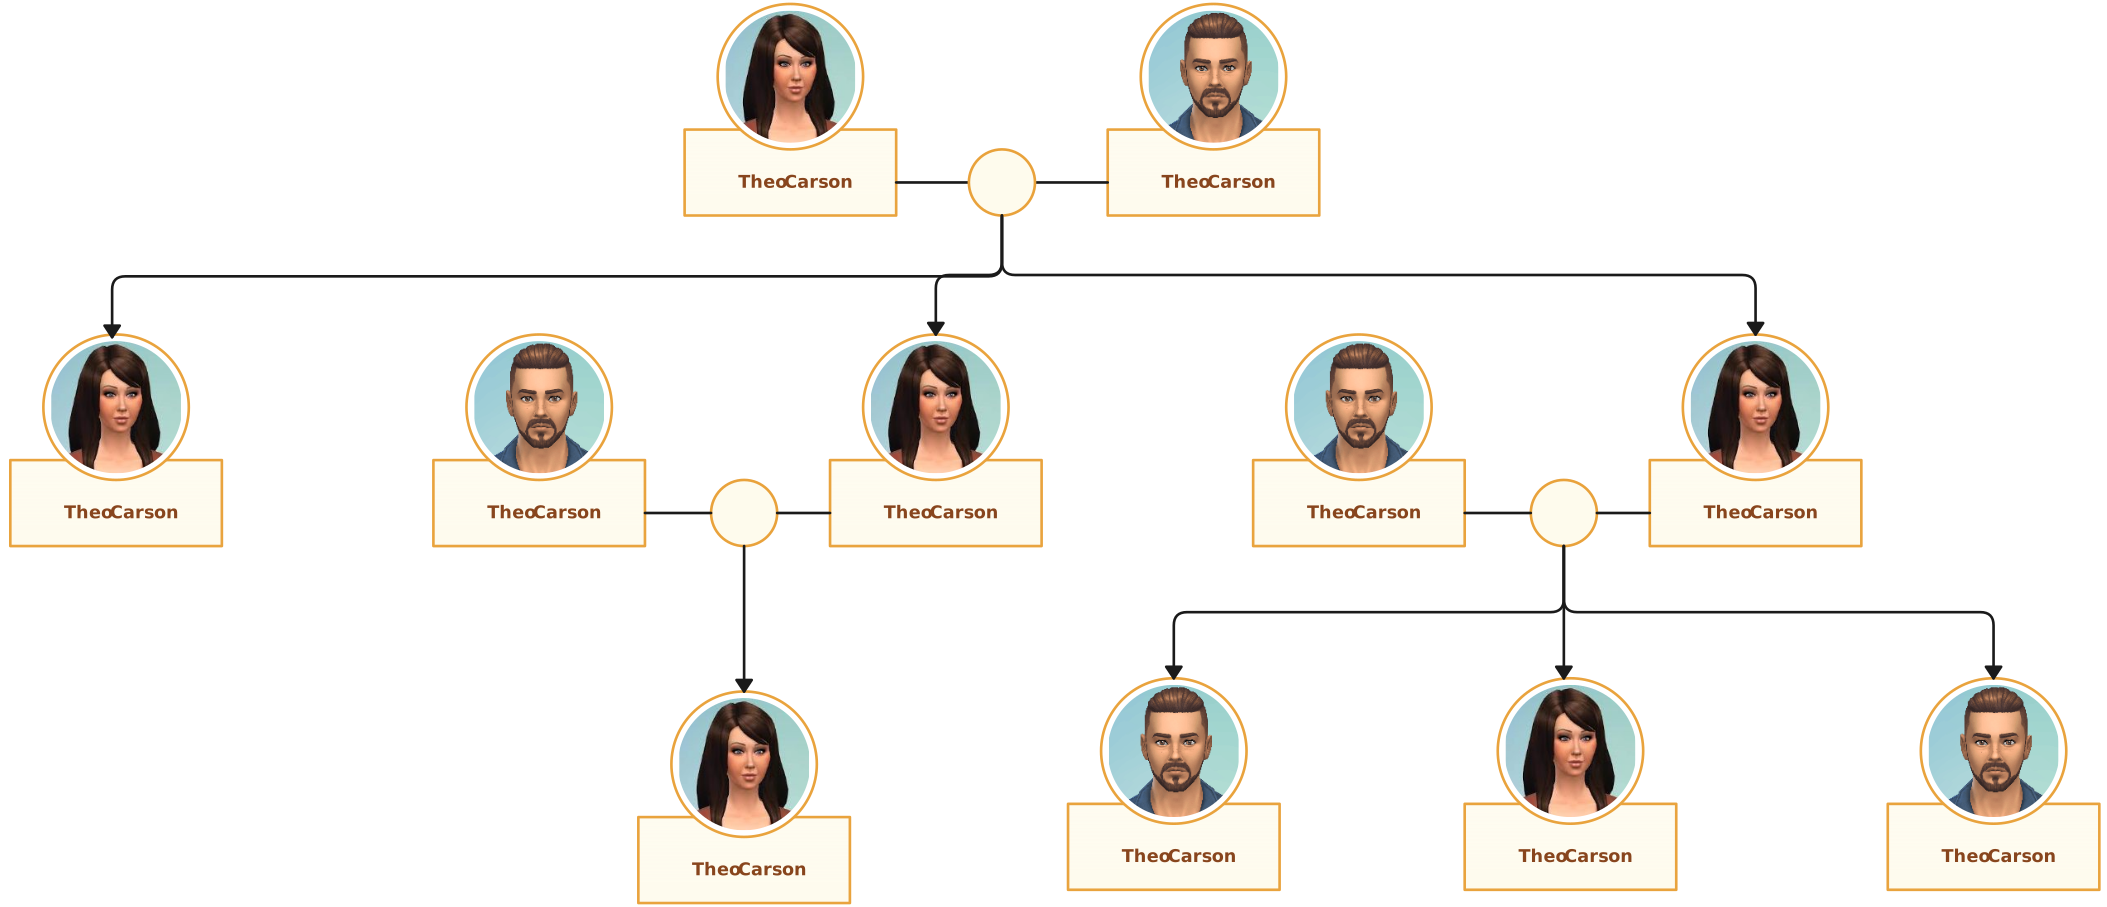
The fastest starting point is a pre-connected template. It removes the early layout work while keeping every name, date, photo, color, and connector editable. This multi-generational family tree template works for school projects, family-history research, reunion displays, and personal records.
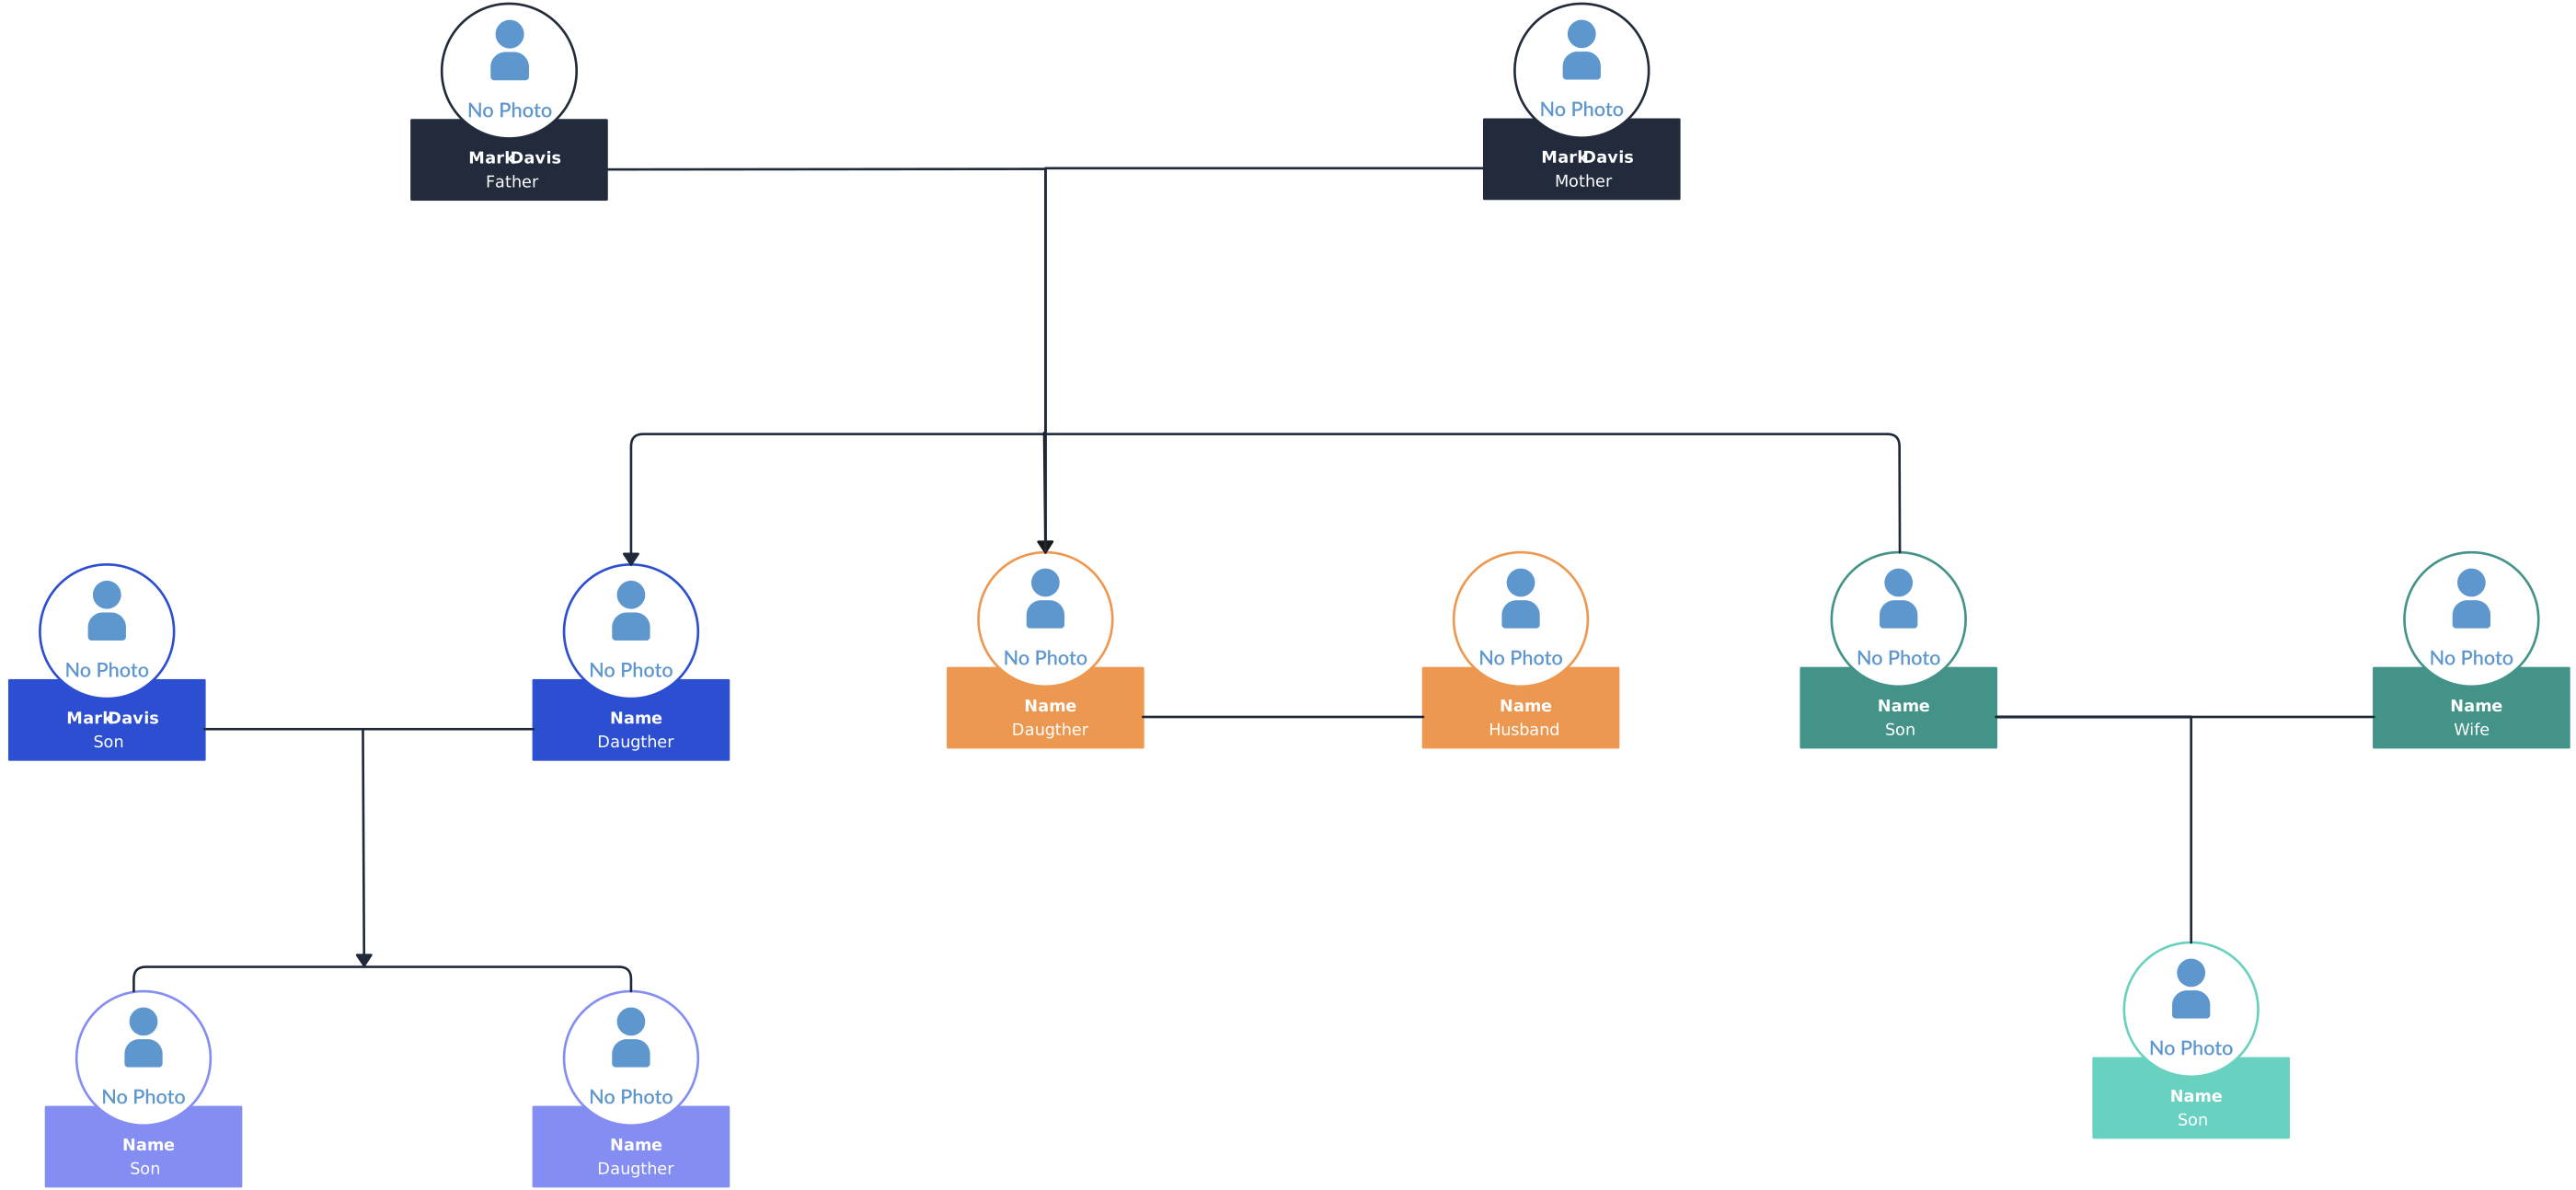

Use the template in three moves:
- Replace the starting person or couple with the focus of your tree.
- Add parents and grandparents before extending sideways to siblings, aunts, uncles, and cousins.
- Invite relatives to check facts, then export the reviewed version for print or sharing.
If four generations are not enough, use the same process with the six- and nine-generation options later in this guide.
What Is a Multi-Generation Family Tree?
A multi-generation family tree traces lineage across three or more generations. Each person typically appears in a node, and connectors show parent-child or partner relationships. People in the same generation usually sit on the same row, column, or circular ring so the reader can understand the structure without reading every label.
Most trees follow one of three directions:
- Top-down hierarchy: Ancestors appear above descendants. This is the clearest choice for a four-, five-, or six-generation school project or reunion chart.
- Left-to-right hierarchy: Generations move horizontally. It fits landscape screens and can give large sibling groups more room.
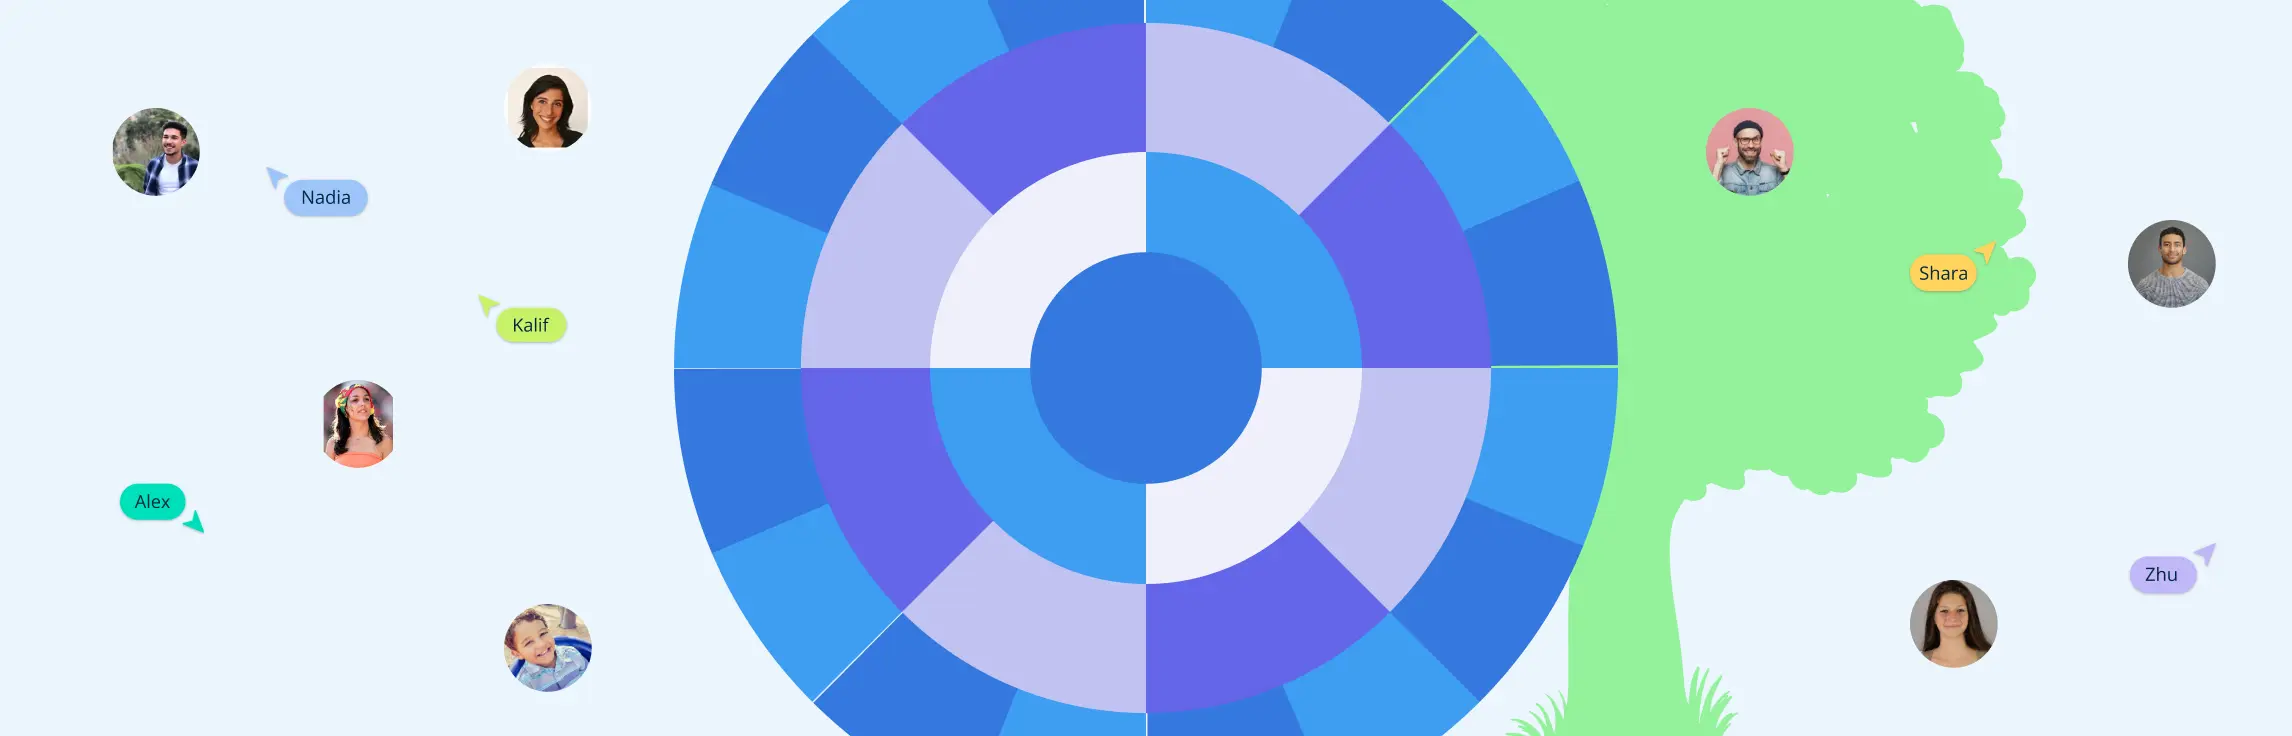
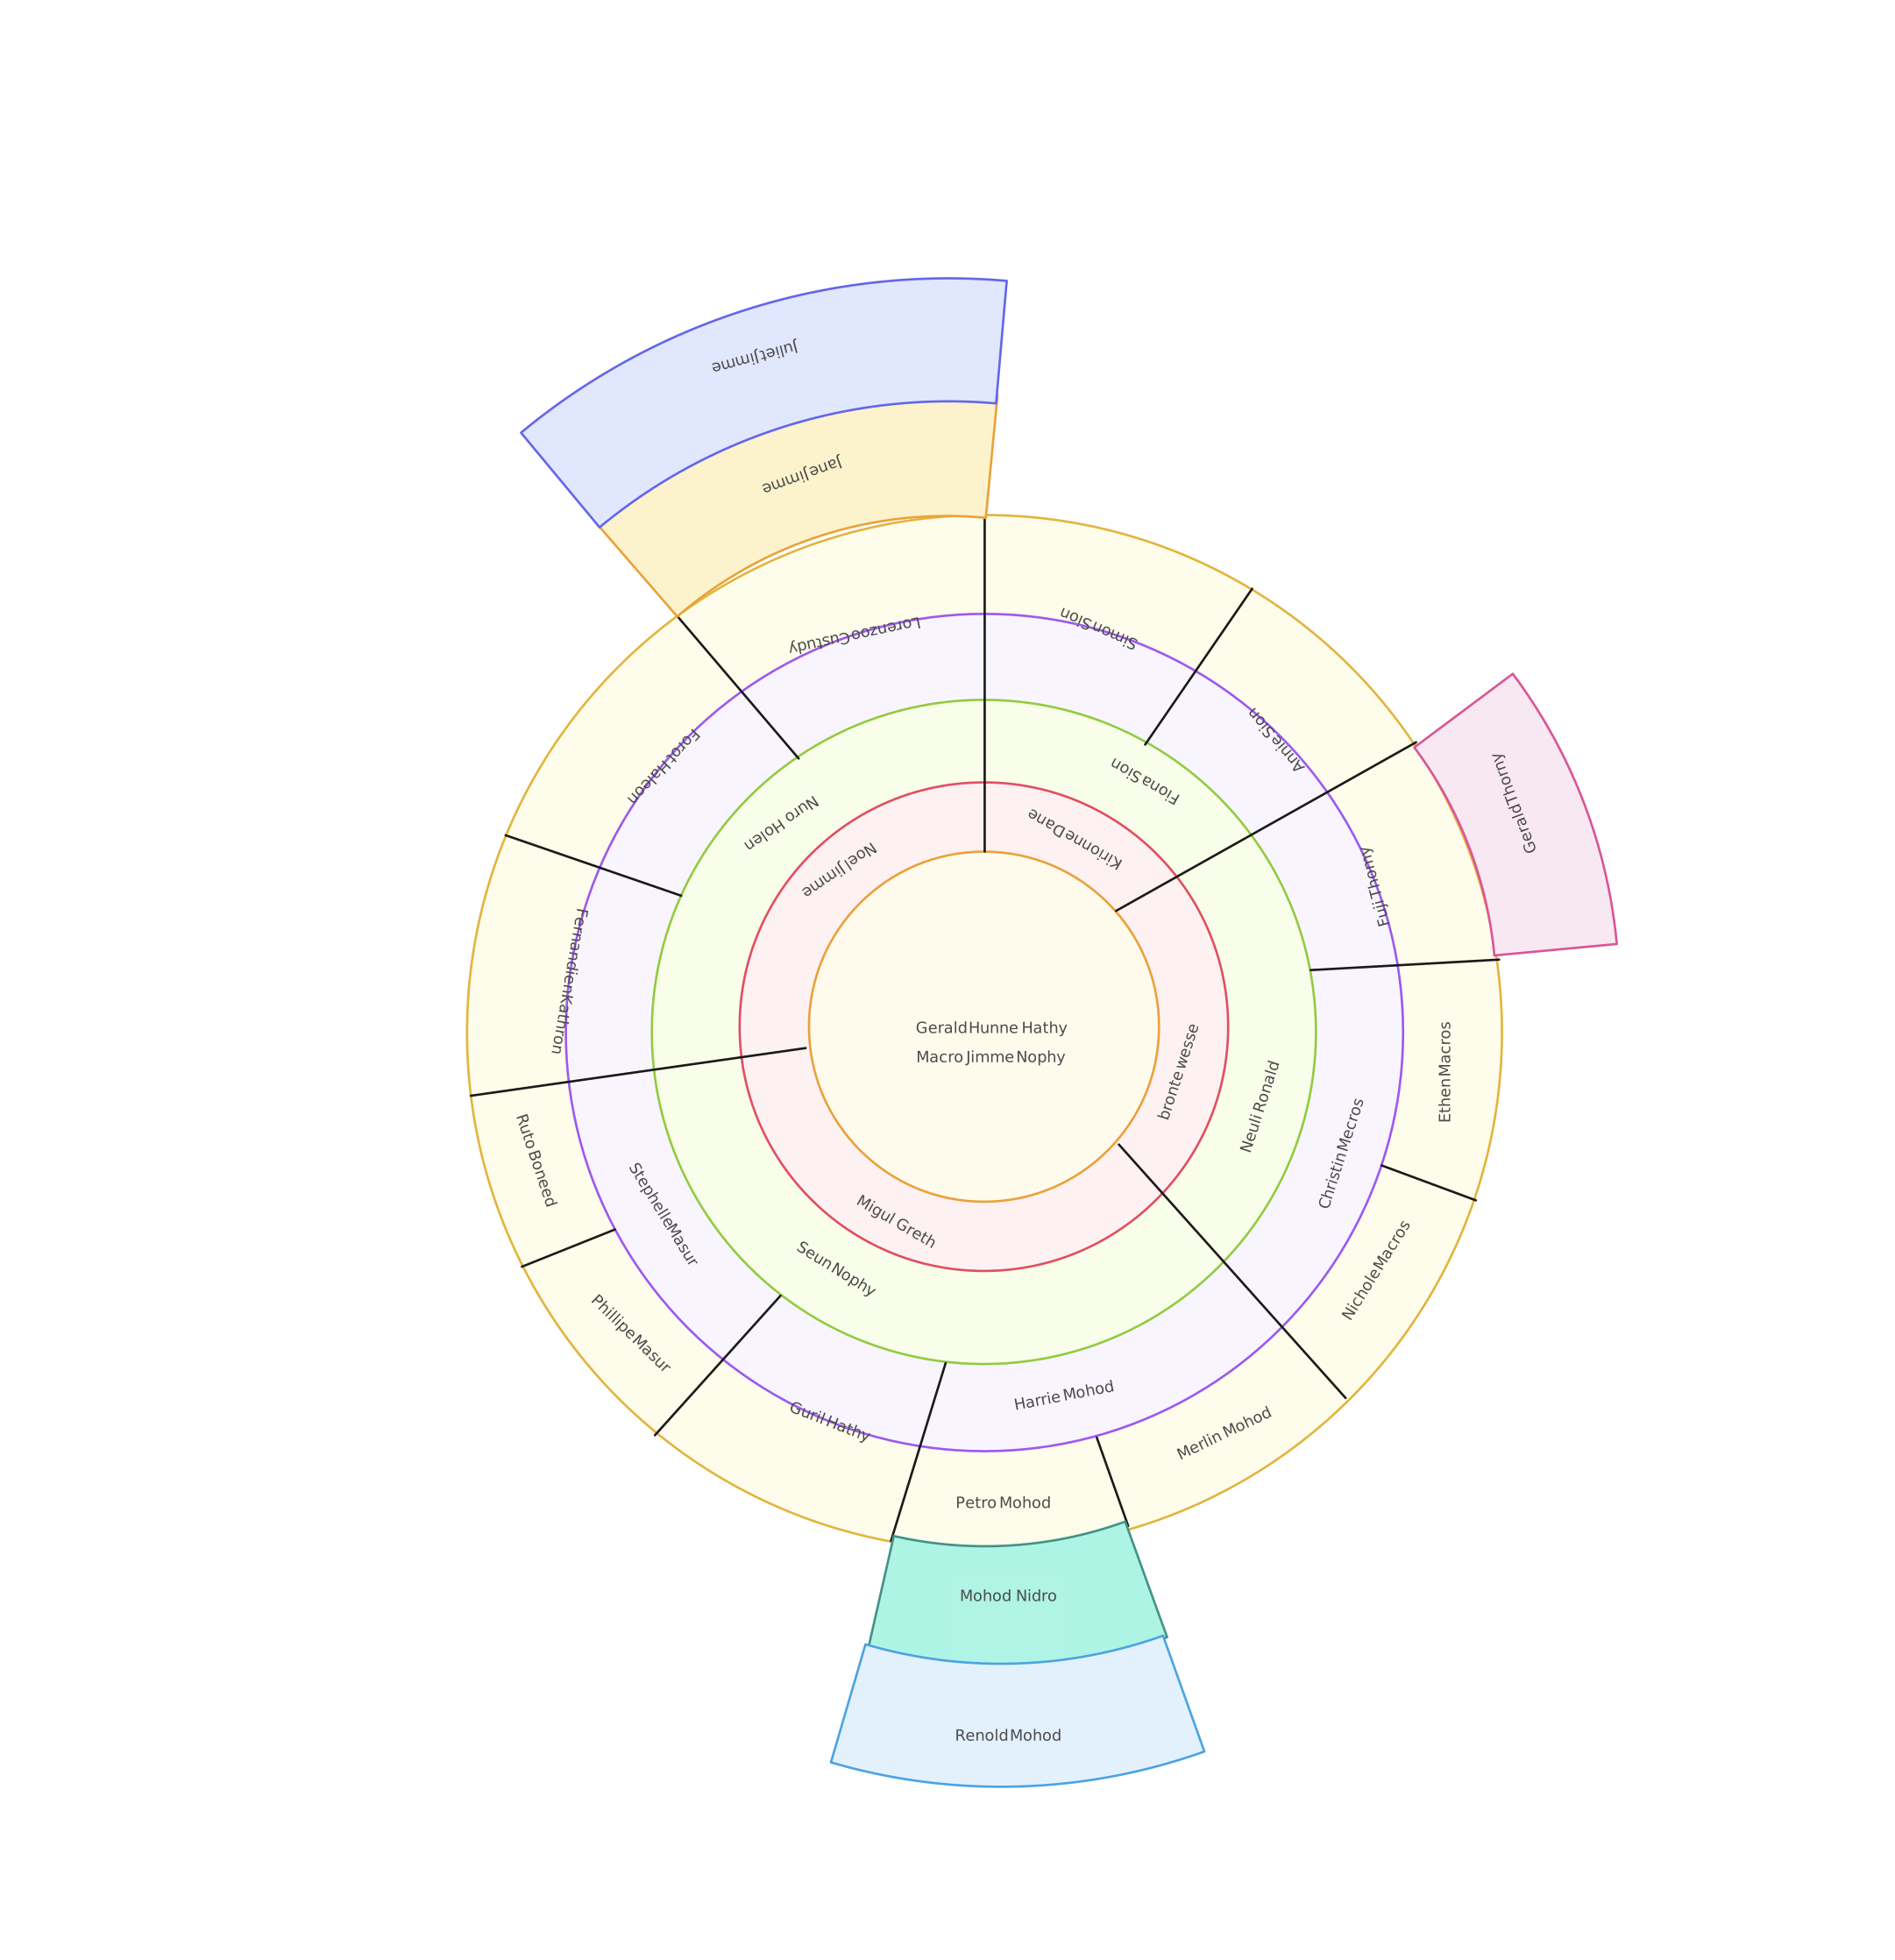
- Fan or radial chart: The focus person sits at the center and earlier generations expand in rings. This is compact for deep ancestral research and display pieces.
A family tree is primarily a non-clinical record of lineage and family history. If you need to map medical conditions, clinical observations, or emotional relationship patterns, use a genogram rather than a family tree.
How to Build a Multi-Generation Family Tree Step by Step
1. Start With Yourself and Work From Known Facts
Place yourself, the student, or another focus person at the starting point. Add parents, then grandparents and great-grandparents. Working from the known toward the unknown reduces duplicate people and major layout changes. Start by collecting names, dates, places, and relationships before extending the tree outward.
2. Gather Evidence Before Adding Distant Branches
Create a simple research list with each person’s full name, birth and death dates, places, partners, parents, and the source of the information. Interview relatives, but check memories against records when possible. The National Archives identifies census, military, immigration, naturalization, and land records among the sources commonly used by genealogists.
3. Add One Generation at a Time
Complete the direct ancestral line first. Then add siblings and their descendants laterally. This order creates stable generation rows and makes it easier to spot a missing parent, duplicate entry, or branch attached to the wrong household.
4. Use Consistent Relationship Lines
Choose one connector style for partners and another for parent-child relationships. Add a short legend if the tree includes adoption, stepfamilies, or other relationships that a reader may not interpret immediately. Consistency matters more than decorative detail.
5. Add Useful Details Without Overloading the Chart
Keep the default view to names and essential dates. Add locations, photos, short biographies, document links, and research notes only where they help. A readable chart is an index to family history, not a replacement for every underlying record.
6. Review the Tree With Family Members
Ask each reviewer to check a specific branch. Mark uncertain facts as unresolved instead of filling gaps with guesses. Save a dated version after a major review so later corrections do not erase the history of your research.
For a broader beginner workflow, see how to make a family tree.
Collaborate With Family to Complete the Branches
The difficult part of a large family tree is usually gathering information, not drawing boxes. One relative may know dates, another may hold photographs, and someone else may remember a migration story. A shared Creately workspace lets contributors work on the same visual instead of emailing separate files.
Use a simple collaboration plan:
- Give each contributor one branch to research and review.
- Use comments and mentions for questions about an exact person or relationship.
- Keep unverified information visibly marked until another source confirms it.
- Ask one editor to standardize spelling, date formats, colors, and labels before export.
This approach works well during a family reunion or virtual research session. It also helps students divide research and design tasks without creating conflicting copies of the chart.
How to Organize a Large or Complex Family Tree
Large trees stay readable when you separate navigation from detail. Keep names and dates visible at the normal zoom level, then place photos, biographies, citations, and supporting records inside notes or linked material.
For trees beyond five or six generations:
- Create a frame for each major maternal or paternal branch.
- Keep every generation on a consistent row, column, or ring.
- Use one restrained color per branch rather than a different color for every person.
- Separate descendant research from ancestral research if one view becomes too wide.
- Export branch-level sections as well as a complete master chart.
- Maintain a short source note for every disputed or recently discovered relationship.
An infinite canvas removes fixed page boundaries while you work. It does not remove the need for a clear reading order. Design the master tree for exploration, then create focused exports for posters, reports, or presentations.
Which Family Tree Layout Should You Choose?
| Layout | Best for | Main tradeoff |
|---|---|---|
| Top-down hierarchy | Four to six generations, school projects, reunion displays | Can become very wide when generations include many siblings |
| Left-to-right hierarchy | Landscape screens, presentations, wide family branches | Less familiar to readers expecting ancestors at the top |
| Fan or radial chart | Eight or more ancestral generations, keepsake prints | Leaves less room for biographies and descendant branches |
| Descendant chart | Showing everyone descended from one person or couple | Expands quickly in recent generations |
| Bowtie chart | One person’s ancestors and descendants in one view | Needs careful spacing around the focus person |
Explore different types of family trees before committing to a layout. For deep ancestry, a circular family tree can use space more efficiently than a wide hierarchy.
Editable Templates for Four or More Generations
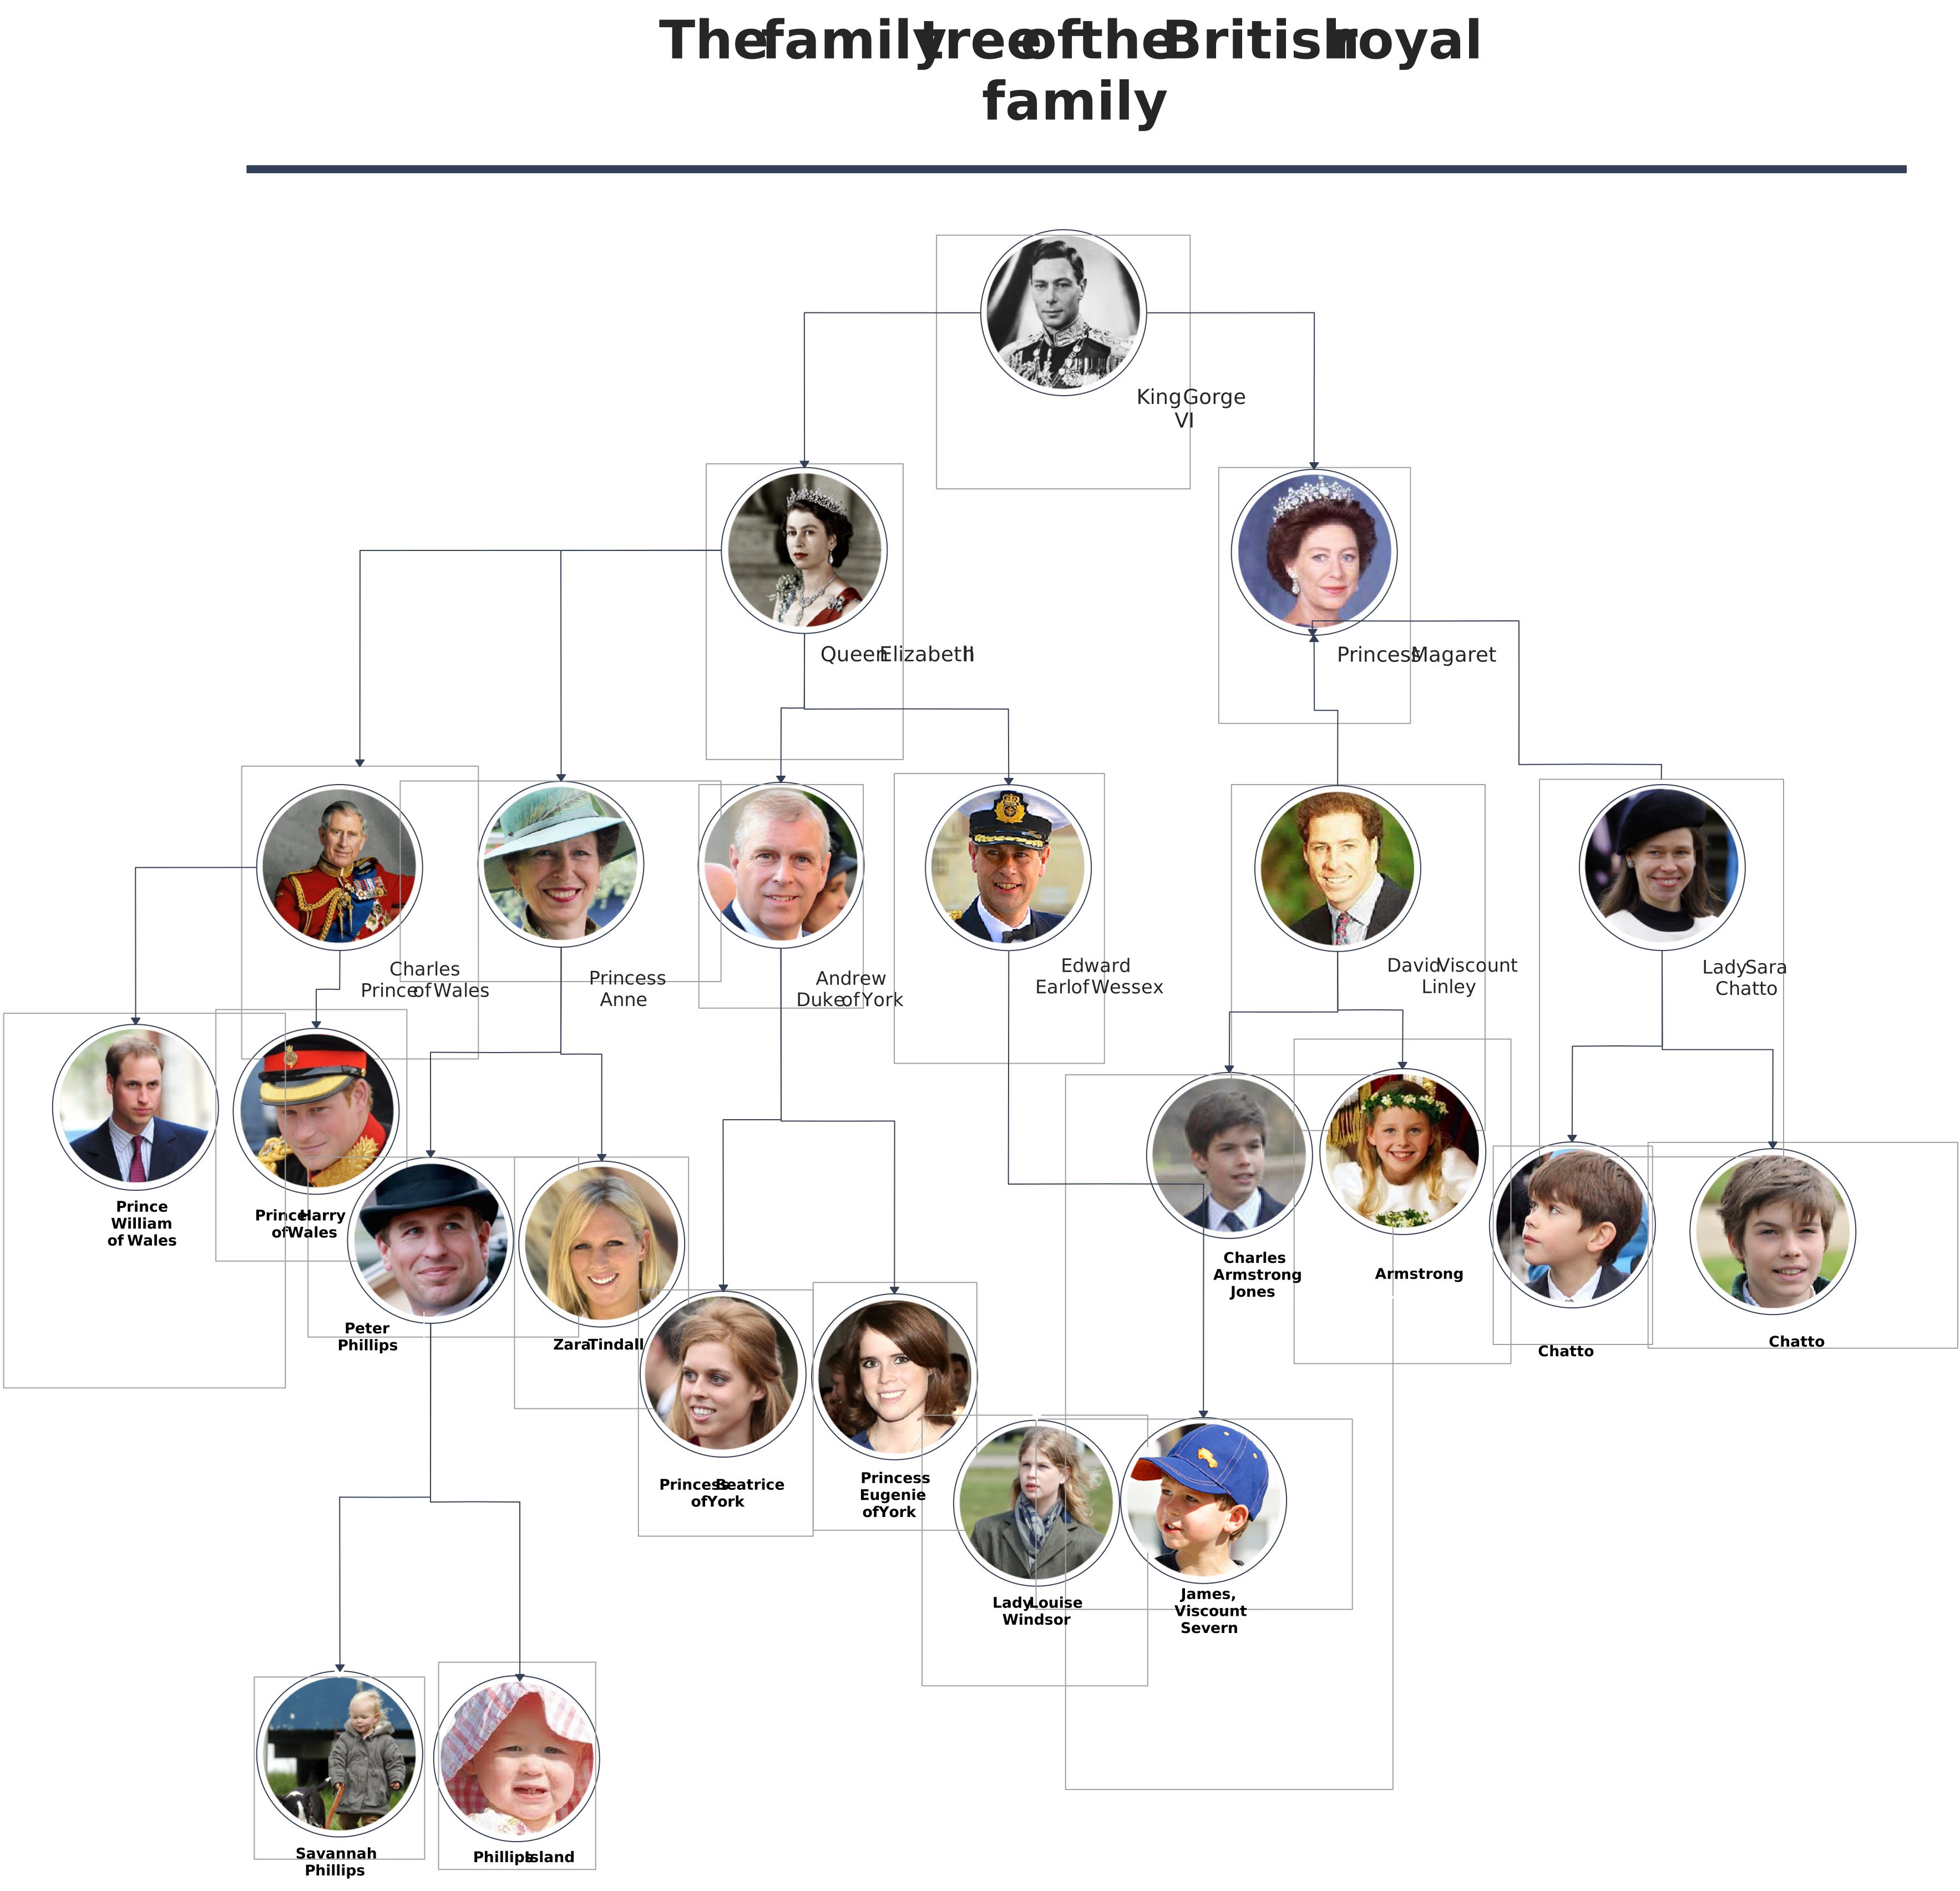
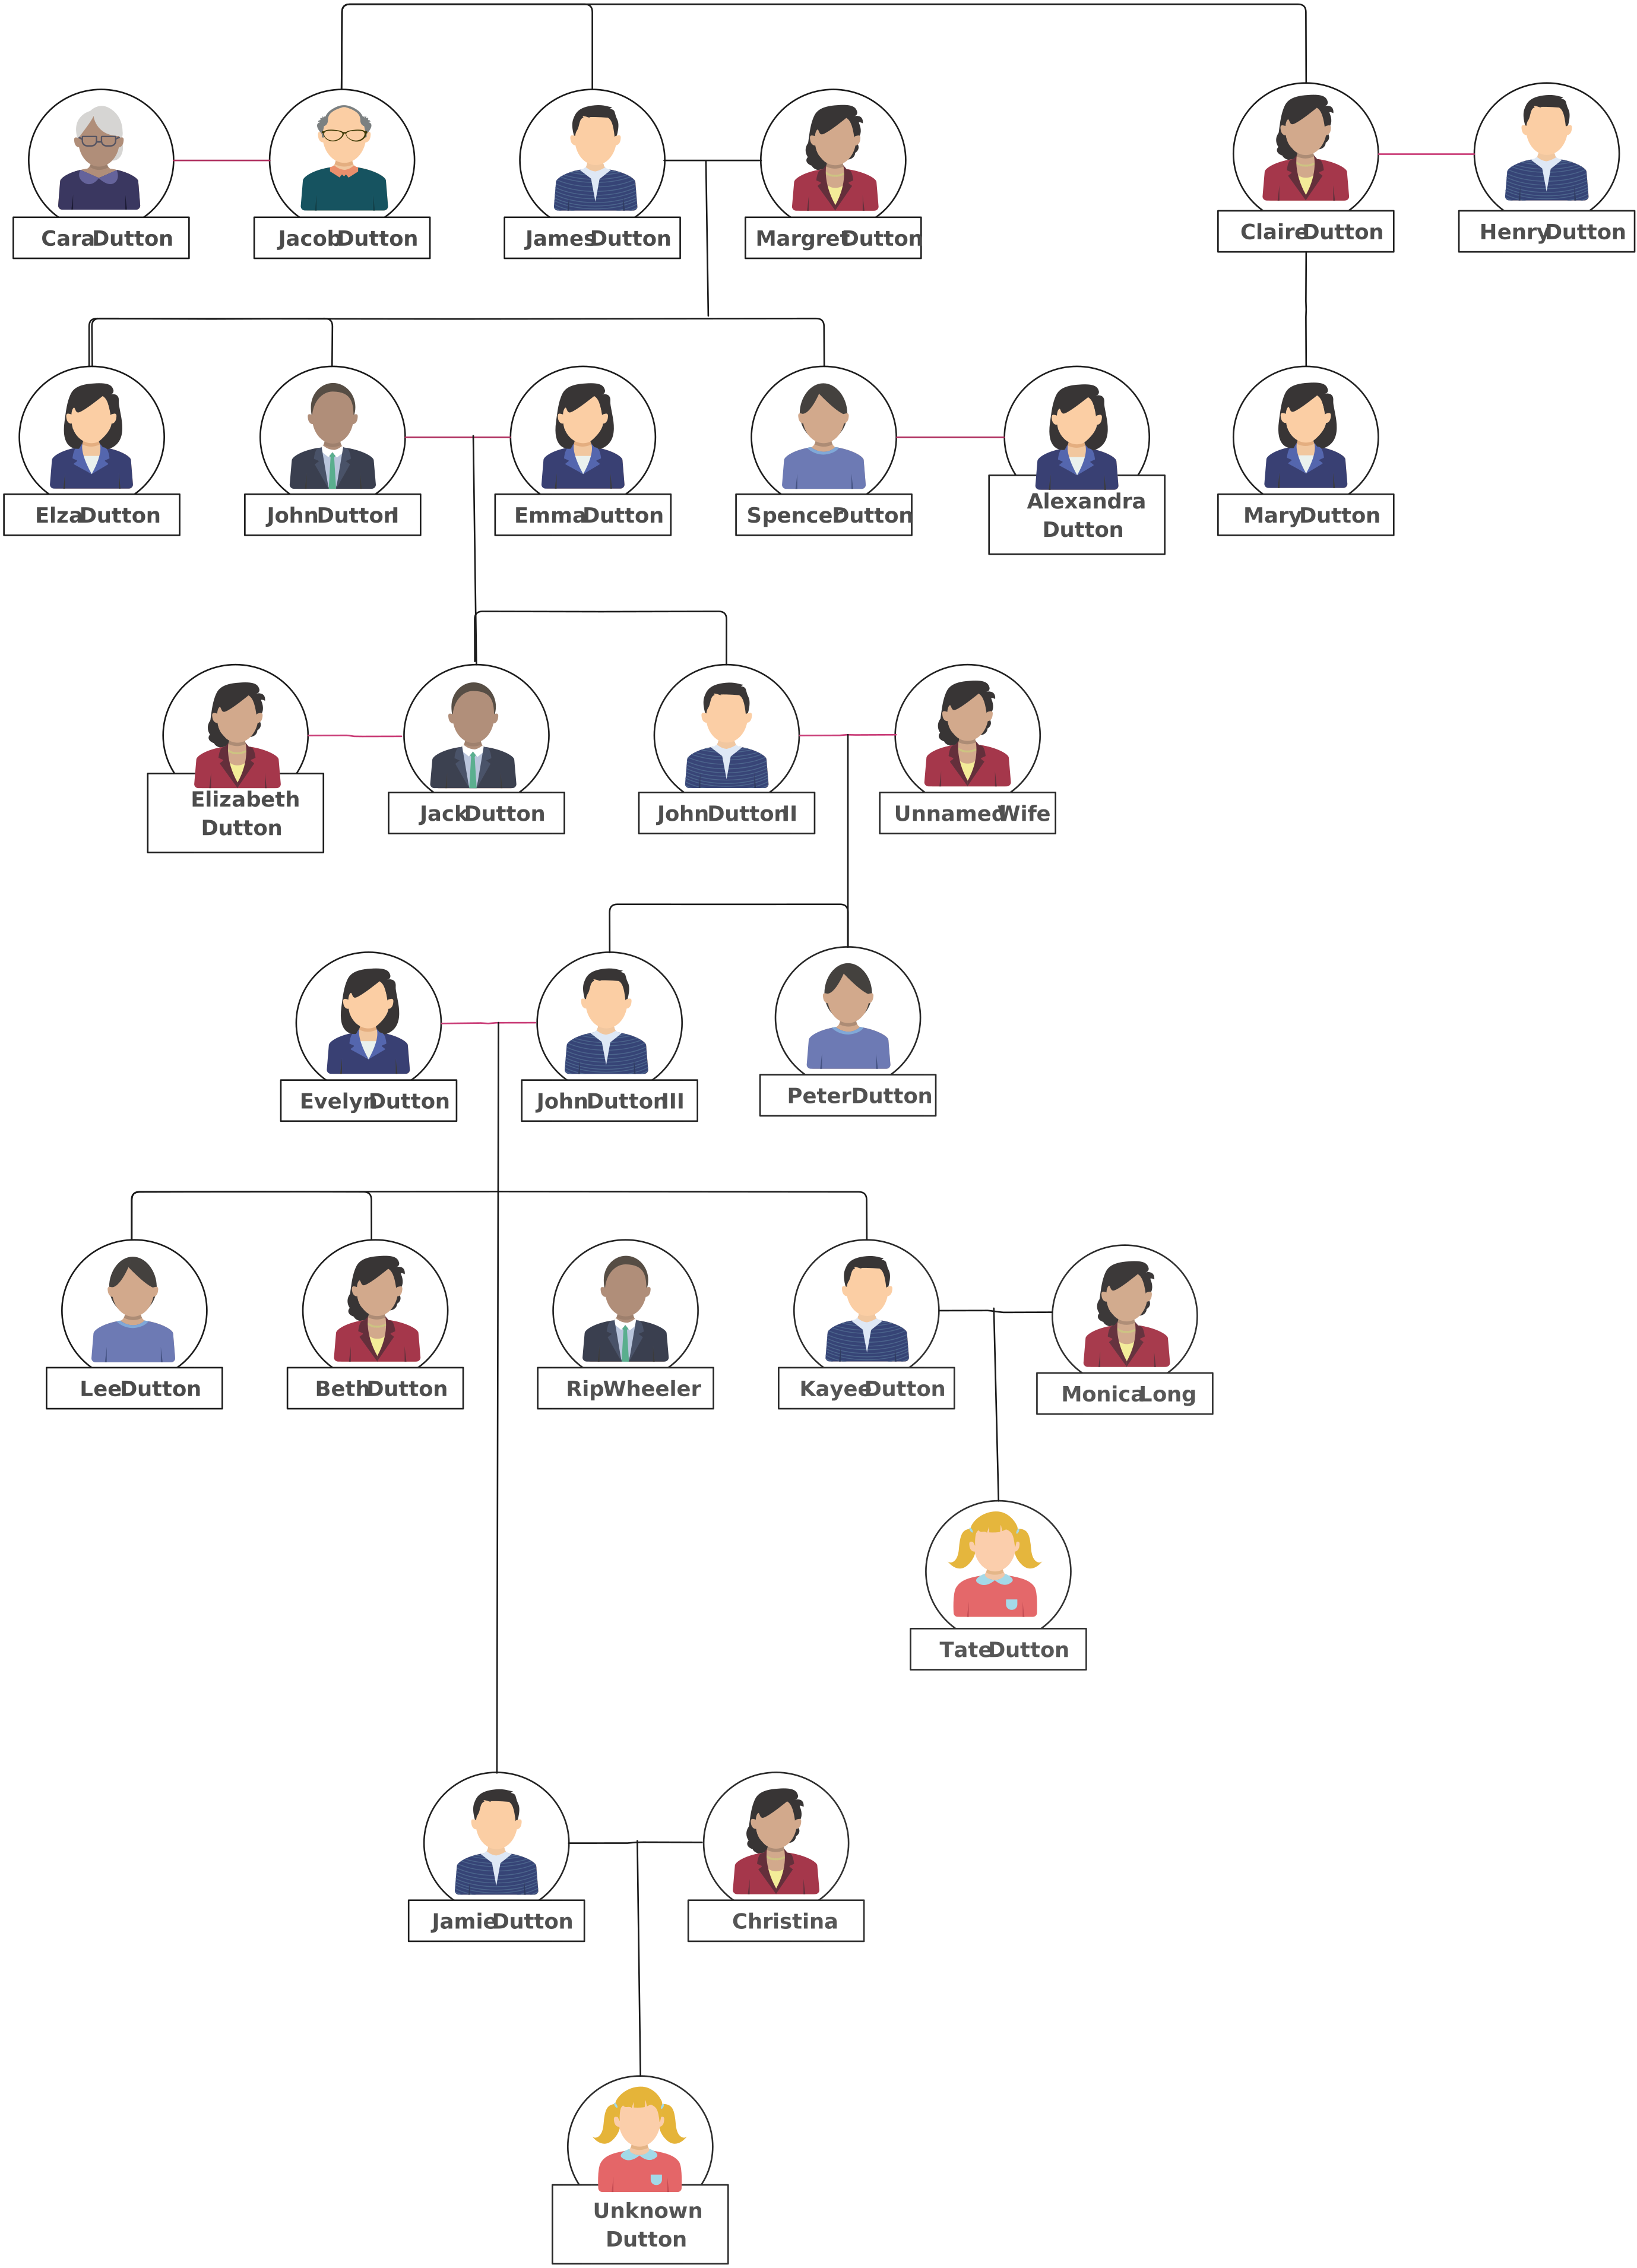
Choose a template based on the number of generations and the way the final chart will be used. Each option below opens through Creately’s existing non-app template pathway.


Print, Export, and Share Your Family Tree
Match the file format to the destination. Use SVG for large-format printing when the print service accepts it because the vector lines and text remain sharp at different sizes. Use PDF for a predictable print handoff, PNG or JPEG for quick digital sharing, and a view-only link when relatives need to explore the current tree in a browser.
Before exporting:
- Check spelling, dates, and relationship lines at normal zoom.
- Confirm that private or sensitive information should be visible to the intended audience.
- Test-print one small section to check font size and contrast.
- Export the complete tree and separate branch-level versions.
- Add a revision date so recipients know which version they have.
Research Sources and Accuracy Tips
Treat the chart as a set of claims supported by records. The National Archives genealogy guide lists census, military, immigration, naturalization, and land records as common starting points. The Library of Congress genealogy research guide also points researchers to digitized primary sources and library collections.
Record where each important fact came from. If two sources disagree, keep both notes and mark the relationship or date as unresolved. A transparent uncertainty is more useful than a polished error that spreads through every branch.
Helpful Family Tree Resources
Build a family tree from the first person through research, layout, review, and sharing.
Compare ancestral, descendant, vertical, horizontal, fan, and extended family tree layouts.
Understand when a lineage chart is enough and when a clinical genogram is the better tool.